Hey everyone, let’s dive into the world of Chery Tiggo FOUR and Tiggo PRO bulbs! We’re going to cover everything you need to know about replacing them, from figuring out the right specs to actually getting your hands dirty and doing the swap.
First up, let’s talk Chery Tiggo FOUR bulb specifications. Now, this is crucial because using the wrong bulb can lead to all sorts of problems, from poor visibility to potential damage to your car’s electrical system. For the low beams, you’re typically looking at H SEVEN bulbs. But always, ALWAYS double-check your owner’s manual. It’s the ultimate authority on what your specific Tiggo FOUR model needs. Don’t rely solely on online forums or videos – those can be outdated or inaccurate. The manual will list the exact wattage and type, ensuring you get the perfect fit. The same goes for the high beams; they might be the same H SEVEN, or they could be a different type altogether. Again, your owner’s manual is your best friend here. And don’t forget about your fog lights, if your Tiggo FOUR has them. These usually use a different bulb type, often H ELEVEN or something similar. Check that manual! We’re talking about safety here, people! Getting the right bulbs is paramount. And finally, let’s not forget the brake lights. These are usually a standard bulb type, but again, your owner’s manual will give you the precise details. Don’t assume anything!
Now, let’s move on to the Chery Tiggo PRO bulb specifications. The PRO model might share some similarities with the Tiggo FOUR, but there are definitely some differences you need to be aware of. While some bulbs might be the same, others could be completely different. For example, the low beams on the PRO might use an H EIGHT bulb instead of an H SEVEN. It’s all down to the specific year and trim level of your PRO. So, once again, that owner’s manual is your bible. Seriously, go find it! It’s not just about the type of bulb; it’s also about the wattage. Using a bulb with a higher wattage than recommended can overload your system and cause damage. And using a lower wattage will mean dimmer lights, which is a safety hazard. So, pay close attention to those details. The high beams on the PRO could also differ from the FOUR, and the same goes for the fog lights and brake lights. Don’t skip this step; it’s essential for a safe and successful bulb replacement.
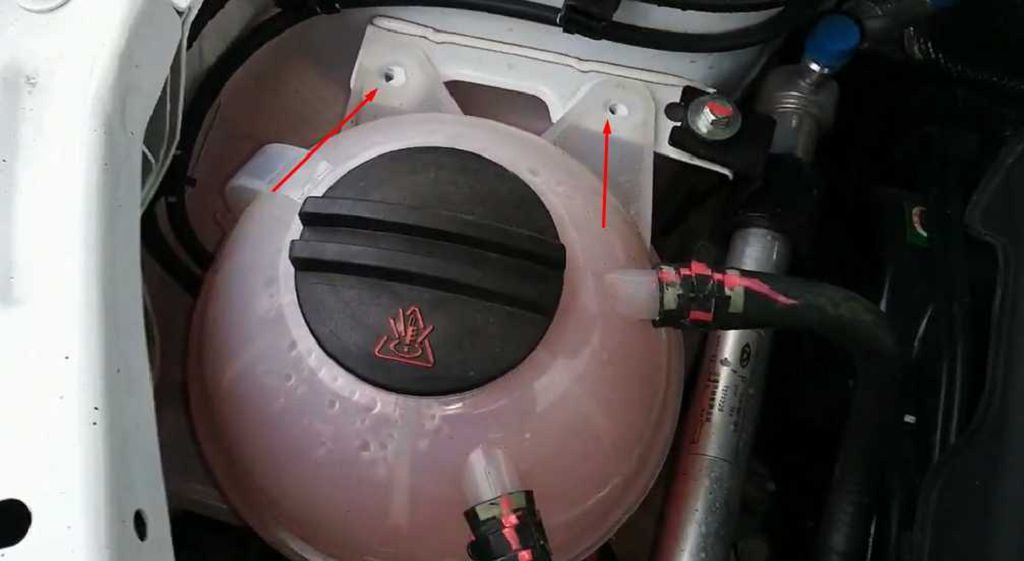
Now, let’s get to the actual replacement process. This is where things get a little hands-on. First, you’ll need the right tools. Usually, a simple screwdriver is all you need, but sometimes you might require a special socket or even a bulb removal tool. Again, your owner’s manual will guide you on this. Before you start, make sure your car is parked safely, the engine is off, and the parking brake is engaged. Safety first, always! Now, depending on the bulb you’re replacing, the access might be different. Some bulbs are easily accessible, while others might require you to remove some plastic covers or even parts of the bumper. Take your time, be gentle, and refer to your owner’s manual for step-by-step instructions. Once you’ve accessed the bulb, carefully remove the old one, making sure not to touch the glass part of the bulb with your bare hands. The oils from your skin can damage the bulb and shorten its lifespan. Then, carefully install the new bulb, making sure it’s securely in place. And finally, test your lights to make sure everything is working correctly. If you’re not comfortable doing this yourself, it’s always best to take your car to a professional mechanic. It’s better to be safe than sorry, especially when it comes to your car’s lighting system. Remember, proper lighting is crucial for safe driving.
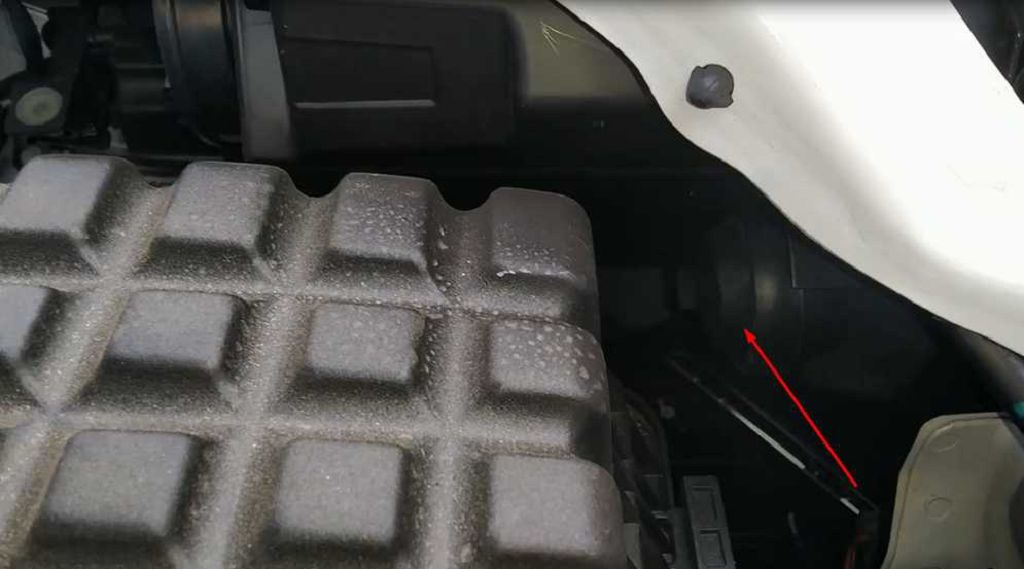
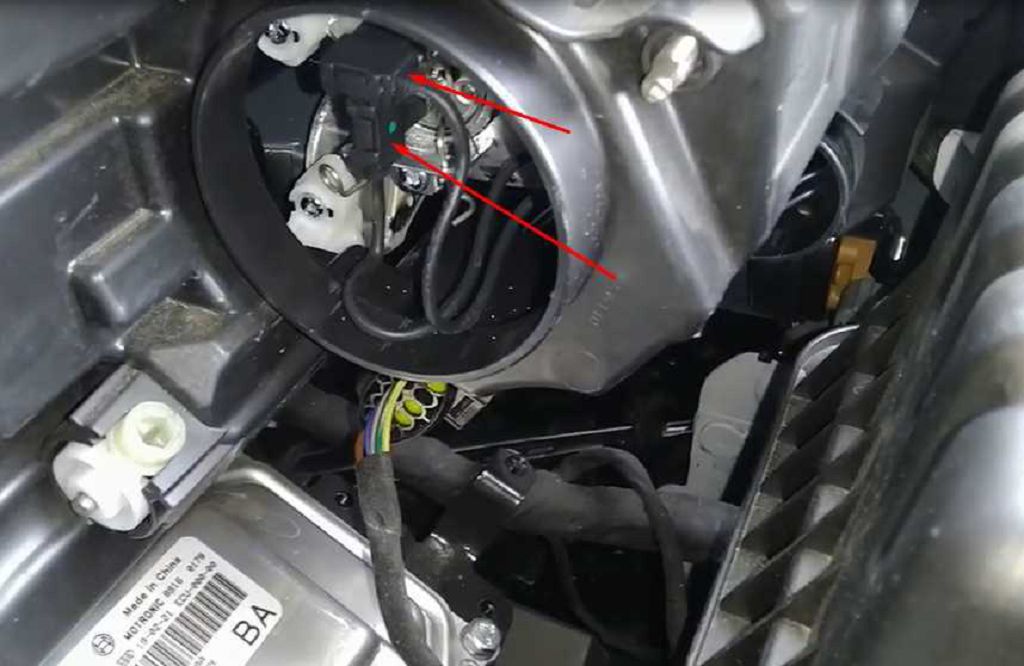
Okay, let’s dive straight into replacing those bulbs on your Chery Tiggo FOUR/Pro. First up, we’re tackling the headlamps, specifically the low beam bulbs. Now, before you even think about touching anything, make sure your car is completely OFF and the ignition is switched to the «OFF» position. Safety first, people! You’ll need a small flathead screwdriver, possibly a pair of pliers depending on how stubborn the bulb connectors are, and of course, your replacement bulbs. The type you need will depend on your specific Tiggo FOUR/Pro model year, so double-check your owner’s manual. Usually, it’s pretty straightforward to access the back of the headlamp unit. There’s typically a cover or access panel – you might need to remove a few screws or clips. Once you’ve got that open, you’ll see the bulb itself. Now, this is where things can get a little tricky. The bulb is held in place by a retaining clip or ring. Gently twist it, usually counter-clockwise, to release it. Once it’s free, carefully disconnect the electrical connector. This is usually a simple push-and-pull mechanism. Remember, be gentle; you don’t want to damage the connector. Now, carefully install the new bulb, making sure it clicks into place securely. Reconnect the electrical connector, and then carefully put everything back together, making sure all the clips and screws are properly fastened. Repeat this process for the other headlamp. Remember to always double-check your work before turning the ignition back on.
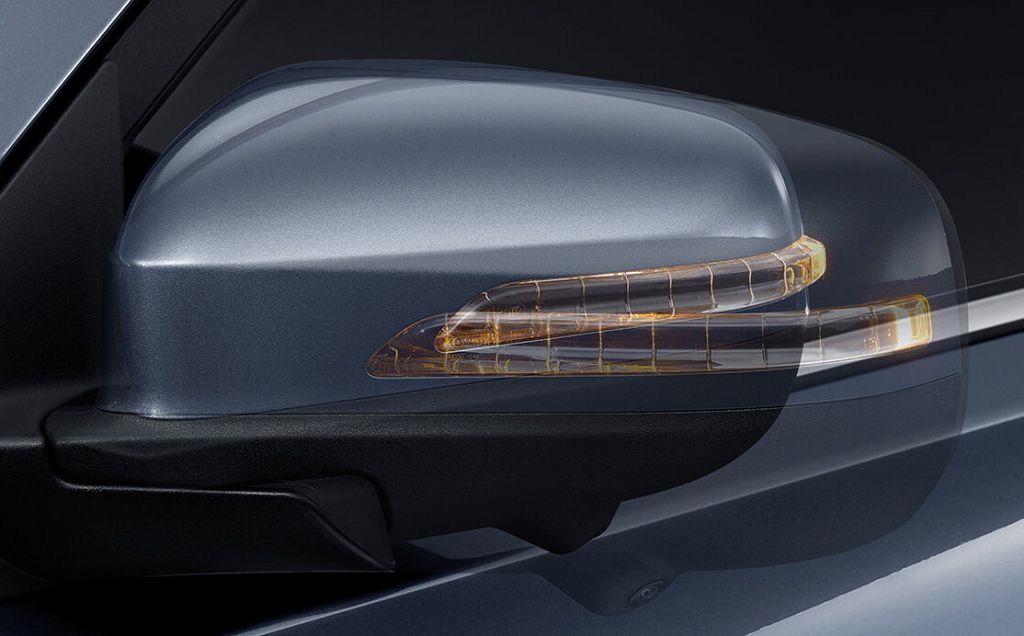
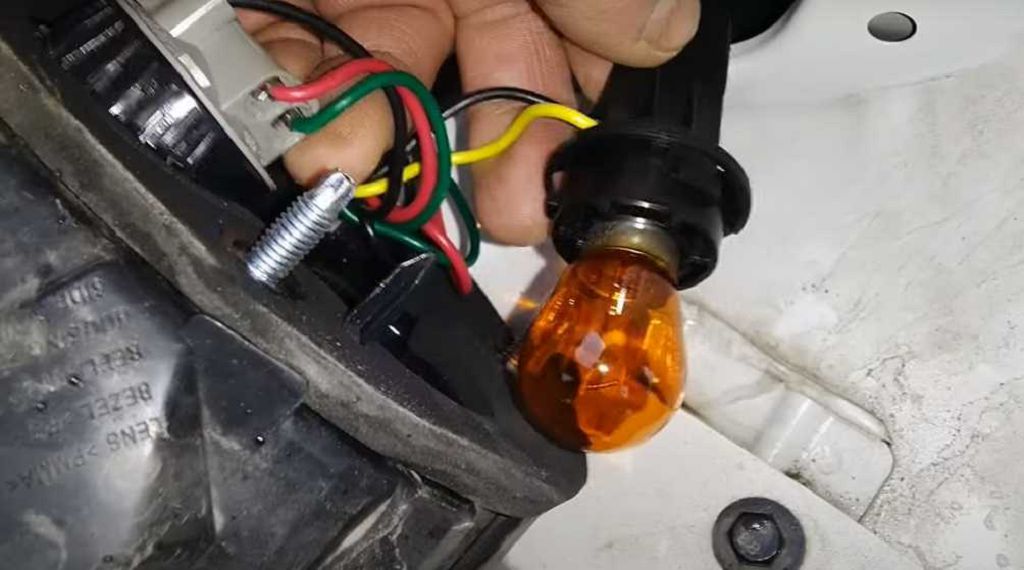
Next, let’s move on to the parking lights. These are usually much easier to access than the headlamps. Again, make sure your car is OFF. Usually, you’ll find the parking light bulbs behind a small access panel in the headlamp assembly itself, or sometimes even just behind a small cover on the front bumper. It’s a simple twist-and-pull operation to remove the old bulb and install the new one. These are typically smaller wattage bulbs than the headlamps, so be careful not to force anything. Again, check your owner’s manual for the correct bulb type. Once you’ve replaced the bulbs, test them to make sure they’re working correctly.
Now, let’s tackle the high beams. The process is very similar to replacing the low beam bulbs. You’ll need to access the back of the headlamp unit again, usually by removing the same access panel. The high beam bulb will be located near the low beam bulb, but it will be a different size and wattage. Again, consult your owner’s manual for the correct bulb type. The removal and installation process is almost identical to the low beam bulbs: carefully release the retaining clip, disconnect the electrical connector, install the new bulb, reconnect the connector, and reassemble everything. Test your high beams to ensure they’re working properly before you call it a day.
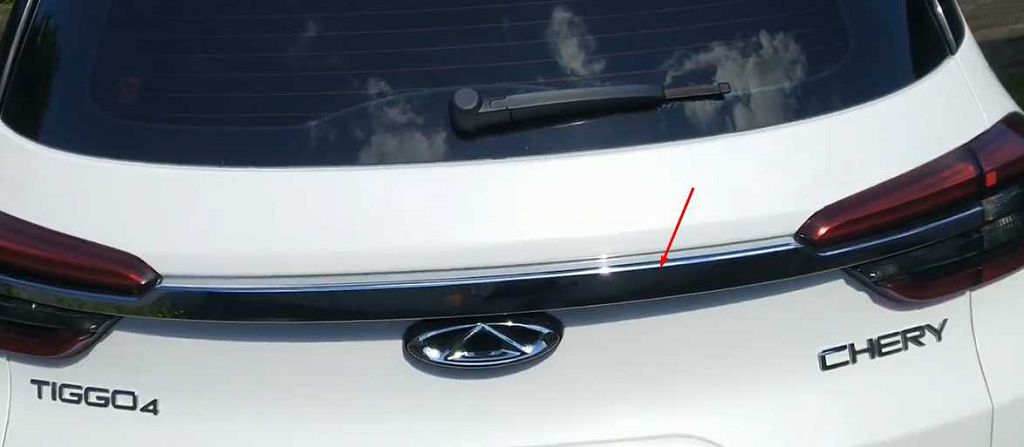
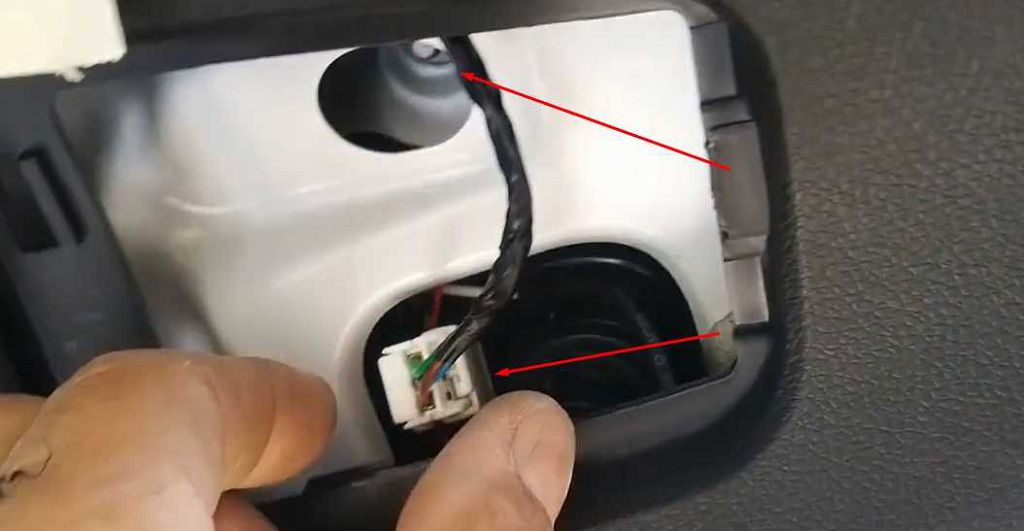
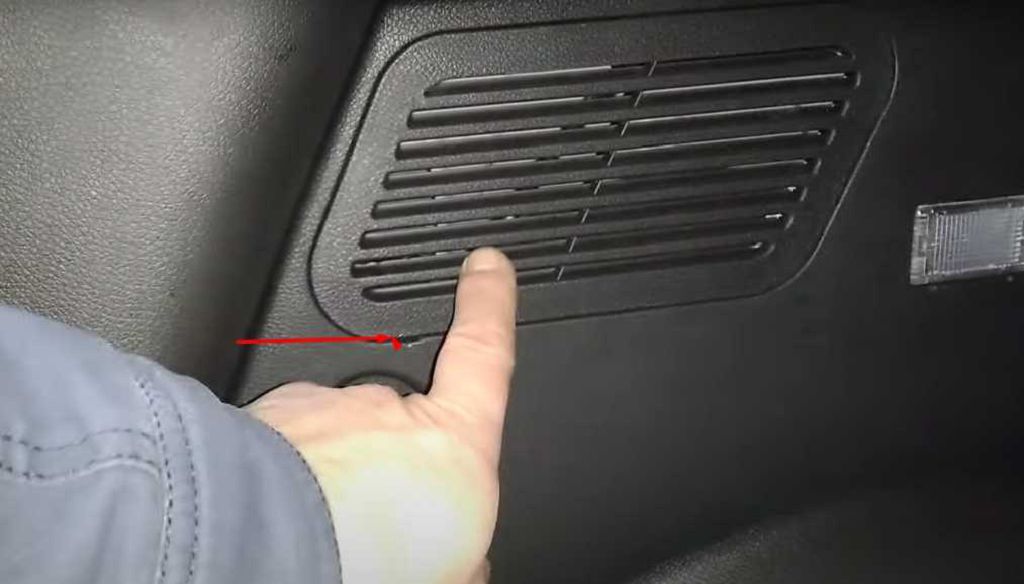
Finally, let’s talk about the brake lights. These are usually located at the rear of the vehicle, within the taillight assemblies. Access to these bulbs varies depending on your Tiggo FOUR/Pro model. Some models might require removing the entire taillight assembly, while others might have a small access panel. Once you’ve gained access, the process is similar to the other bulbs: carefully remove the old bulb, install the new one, and reassemble everything. Brake lights are crucial for safety, so make sure you test them thoroughly after replacement. Remember, always refer to your owner’s manual for specific instructions and bulb types for your particular Chery Tiggo FOUR/Pro model and year. And that’s it! You’ve successfully replaced several key bulbs on your Chery Tiggo FOUR/Pro. Remember to always prioritize safety and take your time. Good luck!
- Читайте также: