Okay, let’s dive straight into the world of Haval F7 and F7x bulbs! First off, you might be wondering, what’s the difference between the F7 and the F7x? Well, while they share a lot of similarities, there are some key distinctions that affect the lighting setup. The F7x, generally speaking, has a slightly more aggressive and sportier design, and this sometimes translates to minor differences in the headlamp assemblies themselves. This means that while many bulbs are interchangeable, there might be subtle variations in the bulb types used, or even the access points for replacement. So, always double-check your specific model year and trim level before ordering any replacements. It’s worth noting that the owner’s manual is your best friend here; it’ll have the definitive answer on what bulbs your specific Haval F7 or F7x uses.
Now, let’s talk specifications. We’re primarily concerned with the low beam and high beam bulbs. These are usually halogen bulbs, but some higher trim levels might offer Xenon or even LED options. For the halogen bulbs, you’ll typically find common wattage ratings, perhaps something like FIFTY-FIVE watts for the low beam and SIXTY-FIVE watts for the high beam. However, the exact wattage and bulb type – like H7, H11, or something else entirely – will depend on your specific vehicle’s year and configuration. Again, that owner’s manual is your bible! Don’t just guess; verify the correct bulb type before you buy anything. Getting the wrong bulb can be frustrating, and in some cases, it might even damage your headlamp assembly.
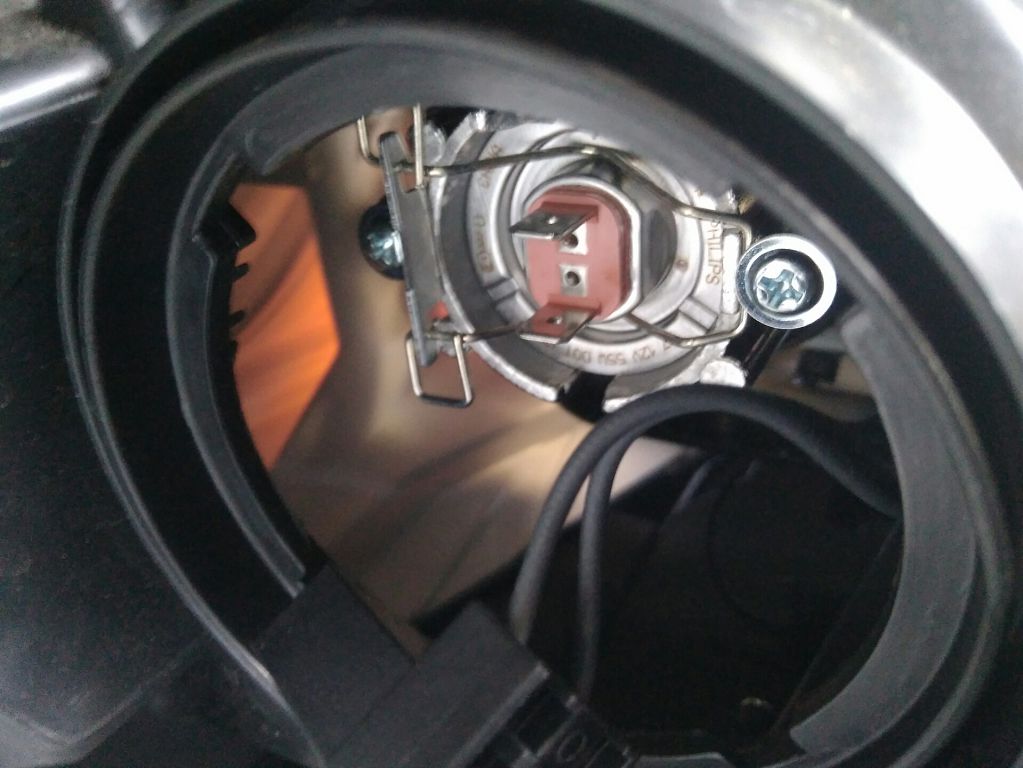
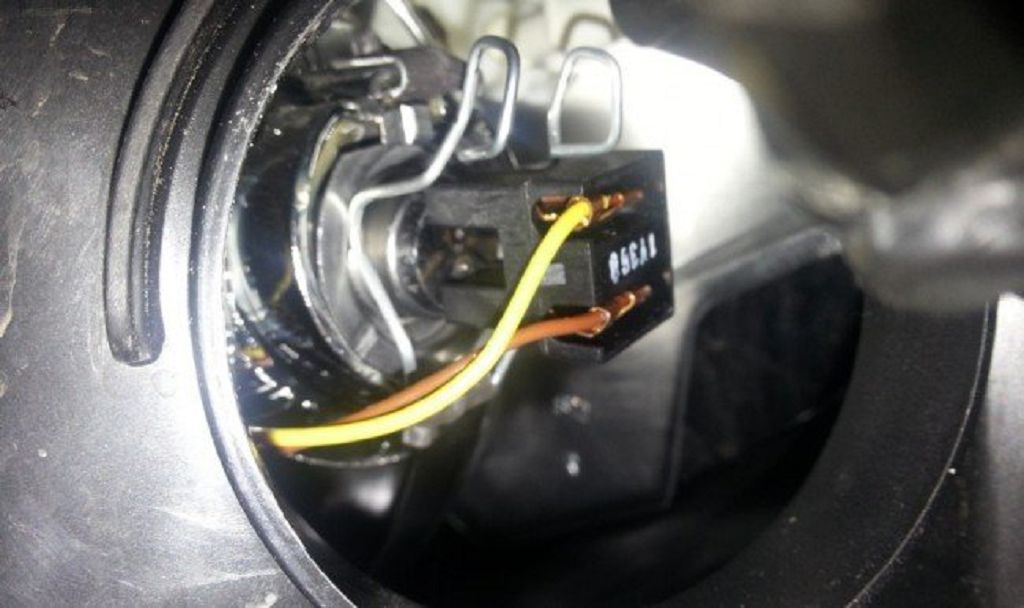
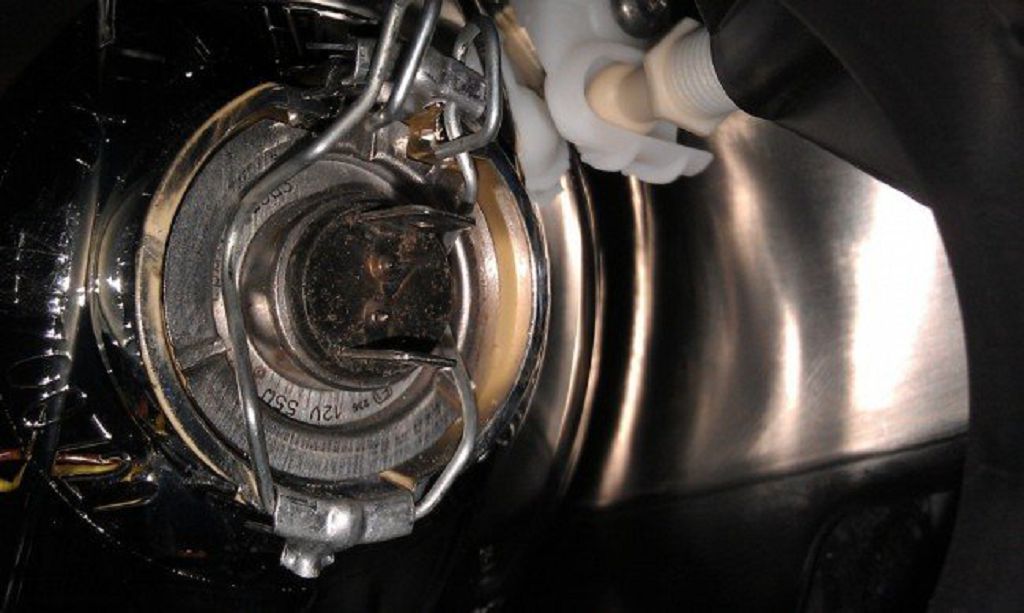
Finally, let’s tackle the actual replacement process. This can vary slightly between the F7 and F7x, and even between different model years. Generally, you’ll need to access the back of the headlamp assembly. This usually involves opening the hood, locating the access panel (sometimes it’s a simple cover, sometimes it’s a bit more involved), and then carefully disconnecting the bulb connector. Before you touch anything, make sure your car is turned off and the ignition is switched off. Then, you’ll need to carefully twist and remove the old bulb. Remember, these bulbs can get hot, so let them cool down if you’ve been driving for a while. Once the old bulb is out, carefully install the new one, making sure it’s seated correctly. Reconnect the connector, and test your lights to ensure everything is working properly. If you’re not comfortable doing this yourself, it’s always best to take your Haval to a qualified mechanic. It’s a relatively straightforward job, but a small mistake can lead to bigger problems. Remember to always dispose of your old bulbs responsibly.
Hey everyone, let’s dive into the world of Haval F7 and F7x bulbs! We’re going to cover everything you need to know about replacing those bulbs, from the front headlights all the way to the rear lamps. First up, let’s talk about those front headlight bulbs.
Now, the Haval F7 and F7x, depending on the year and trim level, might have slightly different bulbs. Some might use halogen bulbs, others might have Xenon or even LED setups. It’s really important to check your owner’s manual to find out exactly what type of bulb your car uses. Don’t just assume – you could end up buying the wrong ones and wasting your money. The manual will specify the exact wattage and type, things like H7, H11, or even a specific LED part number. This information is crucial for getting the correct replacement. Once you know what you need, you can easily find them online or at your local auto parts store. Remember to always buy bulbs from reputable sources to ensure quality and longevity. Cheap bulbs often burn out quickly and can even affect the performance of your headlights.
Replacing the front headlight bulbs can be a bit tricky depending on your model year. Some models have easy access to the bulbs behind the headlight assembly, while others might require removing the entire assembly. Again, your owner’s manual is your best friend here. It will usually have diagrams and step-by-step instructions on how to access and replace the bulbs safely. Remember to always disconnect the battery’s negative terminal before you start working on the electrical system. This is a vital safety precaution to prevent accidental shocks or short circuits. When you’re handling the bulbs, try not to touch the glass part with your bare fingers, as the oils from your skin can reduce the bulb’s lifespan. If you do touch the glass, use a clean cloth to wipe it down before installing the bulb. Once you’ve got the new bulb in, make sure everything is securely fastened and the headlight assembly is properly reconnected. Then, test your headlights to ensure they’re working correctly.
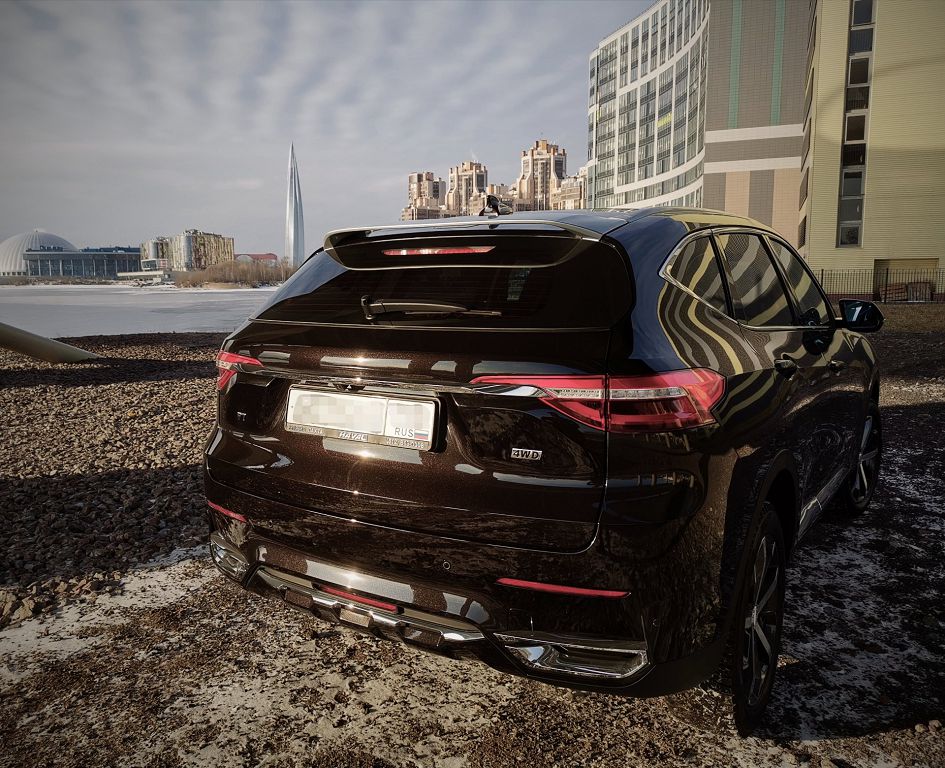
Now, let’s move on to the rear lamps. The process for replacing the rear lamps is generally simpler than the front headlights. Usually, you’ll find access panels or covers on the inside of the trunk or tailgate. These panels are typically held in place by clips or screws. Once you’ve removed the access panel, you’ll be able to see the bulb sockets. Again, consult your owner’s manual to identify the correct bulb type for your tail lights, brake lights, reverse lights, and turn signals. Each light has a specific bulb, and using the wrong one can lead to issues with your car’s lighting system. The replacement process is usually straightforward – just carefully disconnect the old bulb and plug in the new one. Make sure the new bulb is securely seated in the socket before you replace the access panel. And just like with the front headlights, always test your rear lights after replacement to ensure everything is working as it should.
Finally, let’s talk about the general process of replacing any lamp in your Haval F7 or F7x. Remember, safety first! Always disconnect the negative terminal of your battery before starting any work on the electrical system. This is crucial to prevent any accidental shocks or short circuits. When handling bulbs, be gentle and avoid touching the glass part with your bare fingers. Use a clean cloth if you need to handle the glass. Always refer to your owner’s manual for specific instructions and diagrams for your vehicle’s model year and trim level. The manual will provide detailed steps and illustrations to guide you through the process safely and efficiently. Taking your time and following the instructions carefully will ensure a smooth and successful bulb replacement. And remember, if you’re not comfortable doing this yourself, it’s always best to take your car to a qualified mechanic.
- Читайте также: