Hey everyone, let’s dive into the world of Geely Coolray bulbs! We’re going to cover what bulbs are fitted to your Coolray, how to replace them, and even touch on the exciting world of LED upgrades.
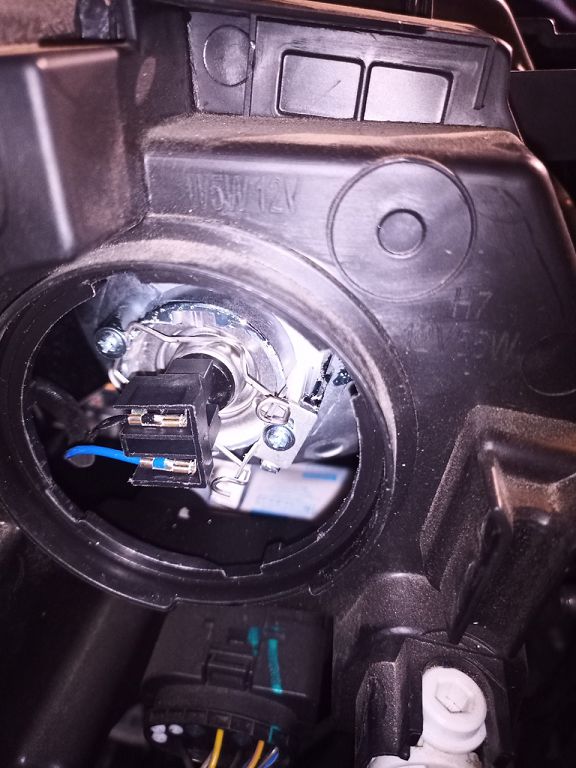
First off, let’s talk about the types of bulbs you’ll find in your Geely Coolray. Now, the exact specifications might vary slightly depending on the year and trim level of your car, so it’s always a good idea to check your owner’s manual. But generally, you’ll find a mix of halogen and potentially some other types depending on the options your car came with. The headlights themselves will likely use a fairly standard halogen bulb, maybe an H7 or H11 type – again, check your manual! Your fog lights will probably use a different type, possibly an H8 or H11, and your taillights and indicators will use yet another set of bulbs, often smaller and with different bases. It’s crucial to get the right bulb type for each location, otherwise, you might find yourself with some seriously mismatched lighting! Don’t just grab any bulb; make sure it’s the correct specification for your Coolray.
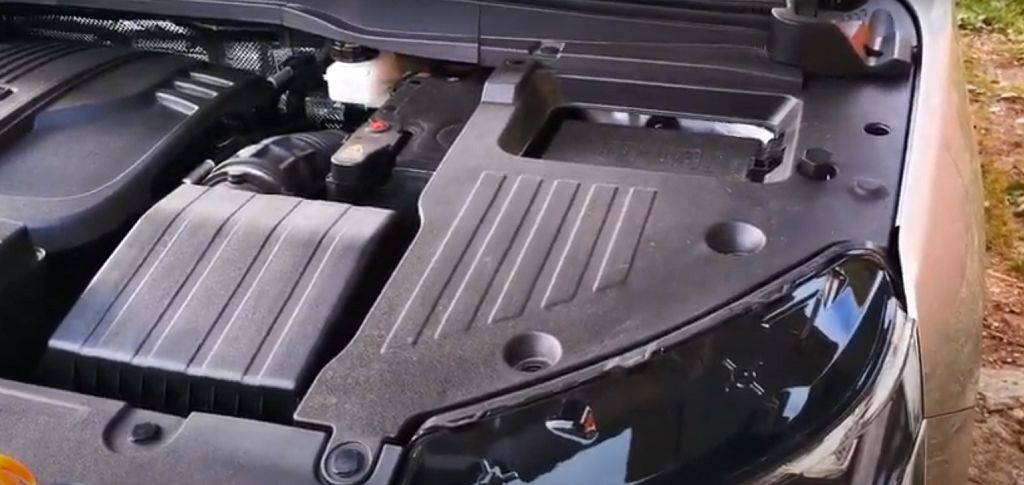
Now, let’s get our hands dirty and talk about replacing those headlight bulbs. This is something many people are nervous about, but it’s actually pretty straightforward. The first thing you’ll need is the correct replacement bulb, of course! You’ll also need a small flathead screwdriver, possibly a pair of gloves to keep your hands clean, and maybe a flashlight to help you see inside the headlight housing. Before you start, make sure your car is parked safely, the engine is off, and the parking brake is engaged. Safety first, people!
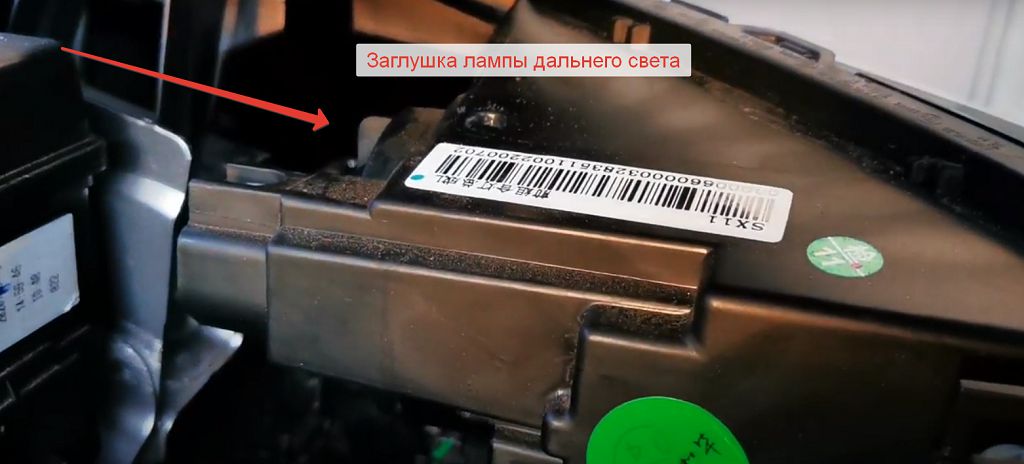
Now, the process itself varies slightly depending on the year and model of your Coolray, but generally, you’ll need to access the back of the headlight assembly. This usually involves opening the hood and locating a small access panel or cover on the back of the headlight unit. Once you’ve found it, carefully remove the cover. You should then see the bulb itself, held in place by a retaining clip or ring. Gently twist and pull the old bulb out, being careful not to touch the glass part of the bulb with your bare hands – the oils from your skin can damage it. Once the old bulb is out, carefully insert the new bulb, making sure it’s seated correctly. Then, replace the cover and test your lights to make sure everything is working properly. If you’re not comfortable doing this yourself, it’s always best to take your car to a professional.
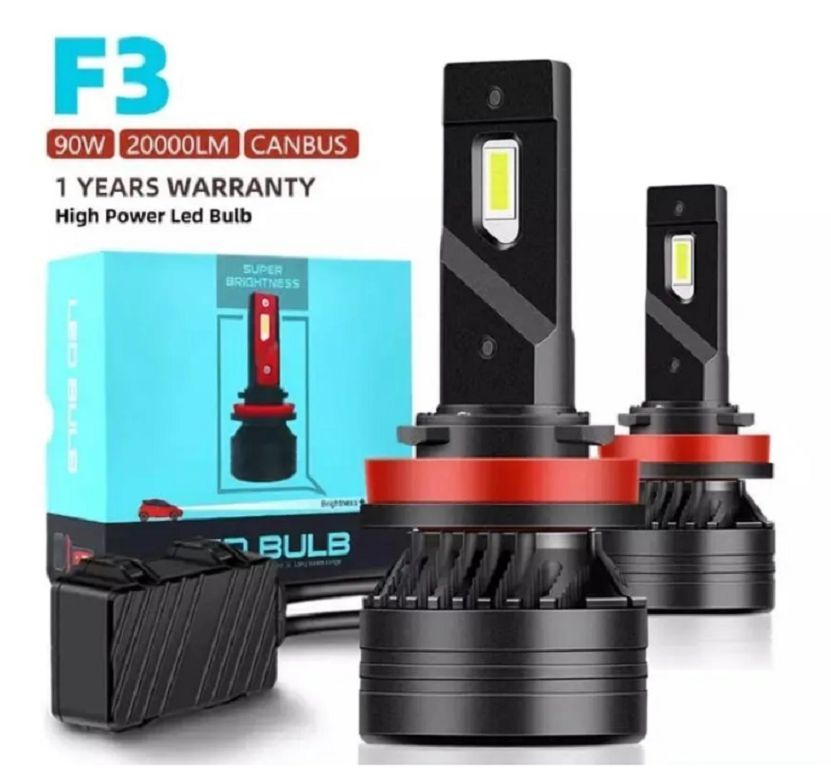
Finally, let’s talk about upgrading to LED bulbs. LED bulbs are becoming increasingly popular due to their brighter light output, longer lifespan, and lower energy consumption. However, it’s important to note that not all LED bulbs are created equal. Some aftermarket LED bulbs might not be compatible with your Coolray’s electrical system, and some might even trigger error messages on your dashboard. If you’re considering an upgrade, do your research and make sure you’re buying high-quality bulbs from a reputable supplier. Also, be aware that some countries have strict regulations regarding headlight modifications, so make sure your upgrade complies with local laws. And remember, safety should always be your top priority. A poorly installed or incompatible LED bulb could be dangerous.
So there you have it! A comprehensive look at Geely Coolray bulbs, their replacement, and the possibility of upgrading to LEDs. Remember to always consult your owner’s manual for specific instructions and recommendations. And if you have any questions, leave them in the comments below! Don’t forget to like and subscribe for more car maintenance tips and tricks!
Okay, let’s dive straight into replacing those halogen bulbs in your Geely Coolray. First things first, safety is key. Always make sure your car is parked securely on a level surface, and the engine is OFF. You’ll need a basic set of tools: a small flathead screwdriver, possibly a Phillips head depending on your model year, and of course, your new halogen bulbs. Now, the location of the bulbs varies slightly depending on whether you’re working on the headlights, fog lights, or other exterior lights. For the headlights, usually, you’ll find a small access panel behind the headlight assembly itself. Carefully remove this panel – sometimes it just pops off, other times you might need that flathead screwdriver to gently pry it loose. Once you have access, you’ll see the bulb housing. There’s usually a retaining clip or a twist-lock mechanism holding the bulb in place. Gently release this, and the old bulb should come out. Remember, don’t touch the glass part of the new bulb with your bare fingers; the oils from your skin can affect its lifespan. Use a clean cloth or glove. Insert the new bulb, making sure it clicks securely into place. Then, carefully reassemble everything, making sure the access panel is properly sealed. Repeat this process for the other headlight. For the fog lights, the process is very similar, but the location of the access panel might be different. Consult your owner’s manual if you’re unsure. Remember to always double-check your work before turning on your lights.
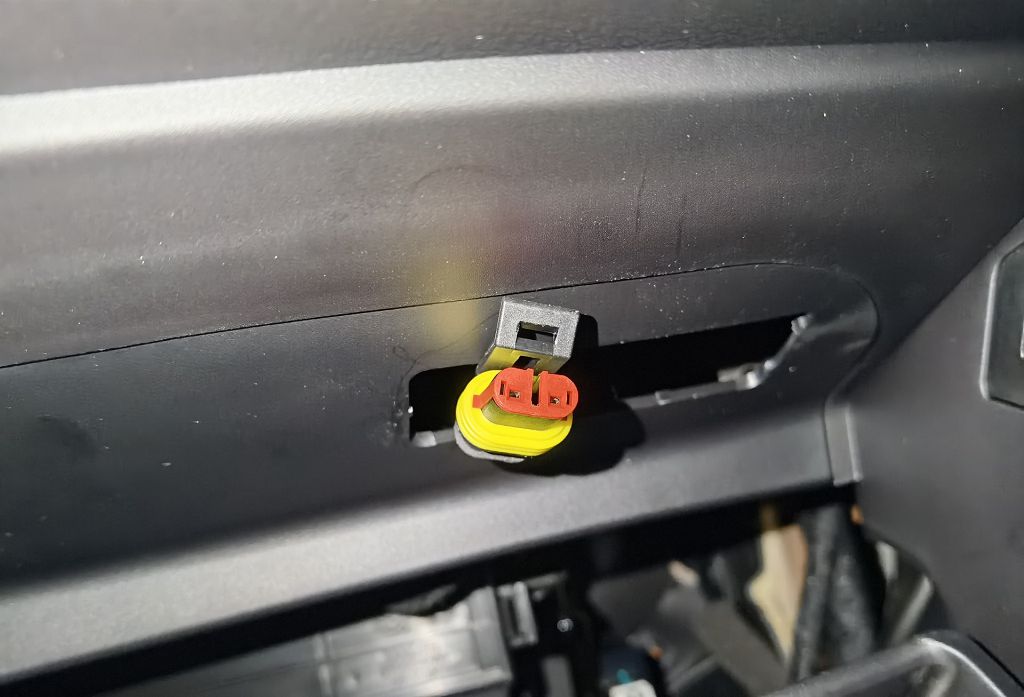
Now, let’s talk about LED bulbs. Switching to LEDs can give your Geely Coolray a modern look and potentially improve visibility. However, there are a few nuances to consider. First, not all LED bulbs are created equal. Some are designed for specific applications, and using the wrong type can lead to issues like error messages on your dashboard or even damage to your car’s electrical system. Always make sure you’re buying LEDs that are specifically designed for your Geely Coolray’s model year and bulb type. Secondly, the installation process can be slightly different. Some LED bulbs might require additional adapters or resistors to prevent flickering or error messages. These are usually included with the bulbs, but it’s always a good idea to check before you start. The physical installation process is similar to halogen bulbs – you’ll still need to access the bulb housing, remove the old bulb, and install the new one. But pay close attention to the orientation of the LED bulb; it often has a specific way it needs to be positioned to work correctly. Again, your owner’s manual or a quick online search for your specific model year can be incredibly helpful here. And remember, always test your new LEDs after installation to make sure everything is working as it should.
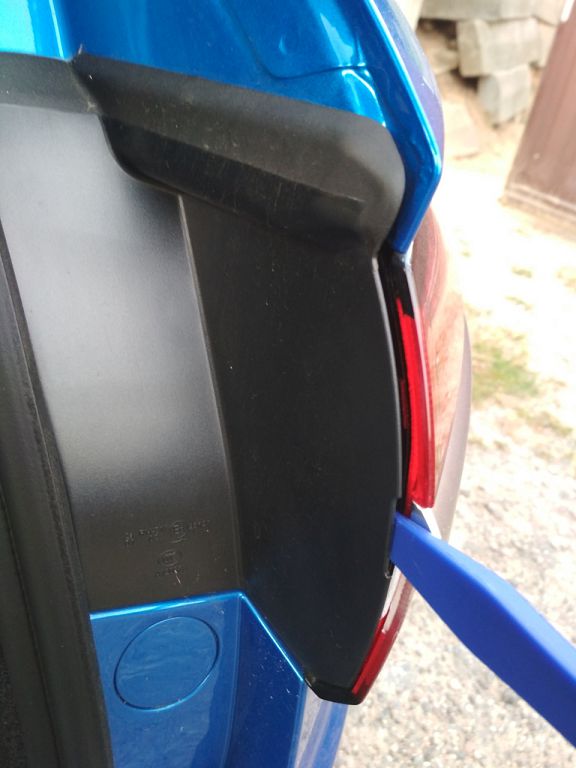
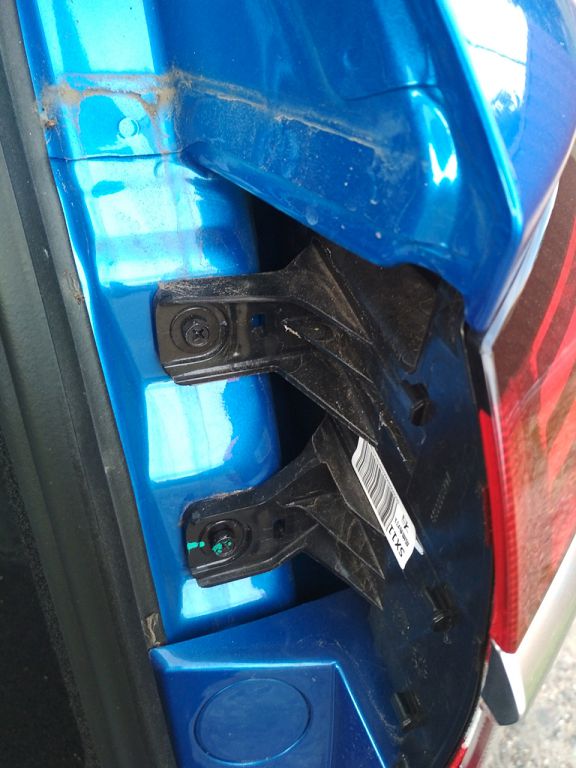
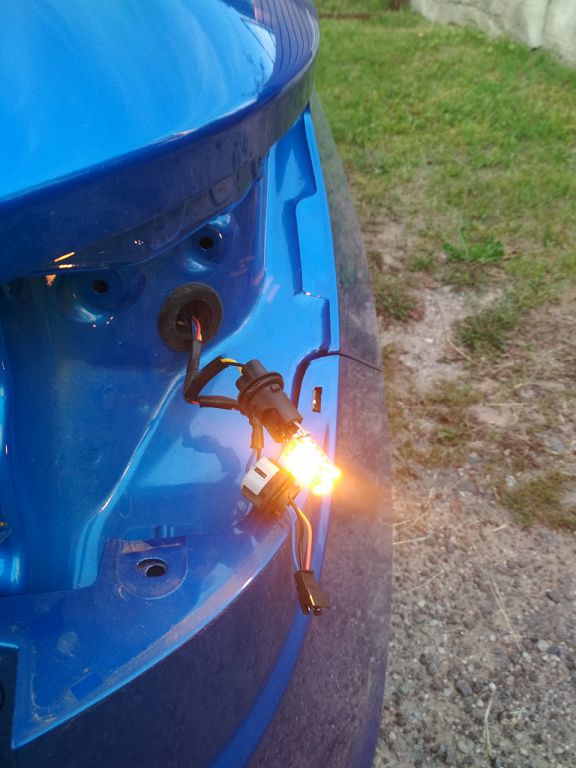
Finally, let’s tackle the rear turn signal lamps. These are usually easier to access than the headlights or fog lights. Typically, you’ll find a small cover or lens that can be removed by hand or with a small flathead screwdriver. Once you’ve removed the cover, you’ll see the bulb socket. Most often, it’s a simple twist-and-pull mechanism to remove the old bulb. Again, avoid touching the glass part of the bulb with your bare hands. Insert the new bulb, making sure it’s securely seated, and then reassemble everything. Test your turn signals to ensure they’re working correctly before you hit the road. Remember, if you’re unsure about any part of this process, it’s always best to consult your owner’s manual or seek professional help from a qualified mechanic. Working with your car’s electrical system can be tricky, so it’s better to be safe than sorry.
- Читайте также: