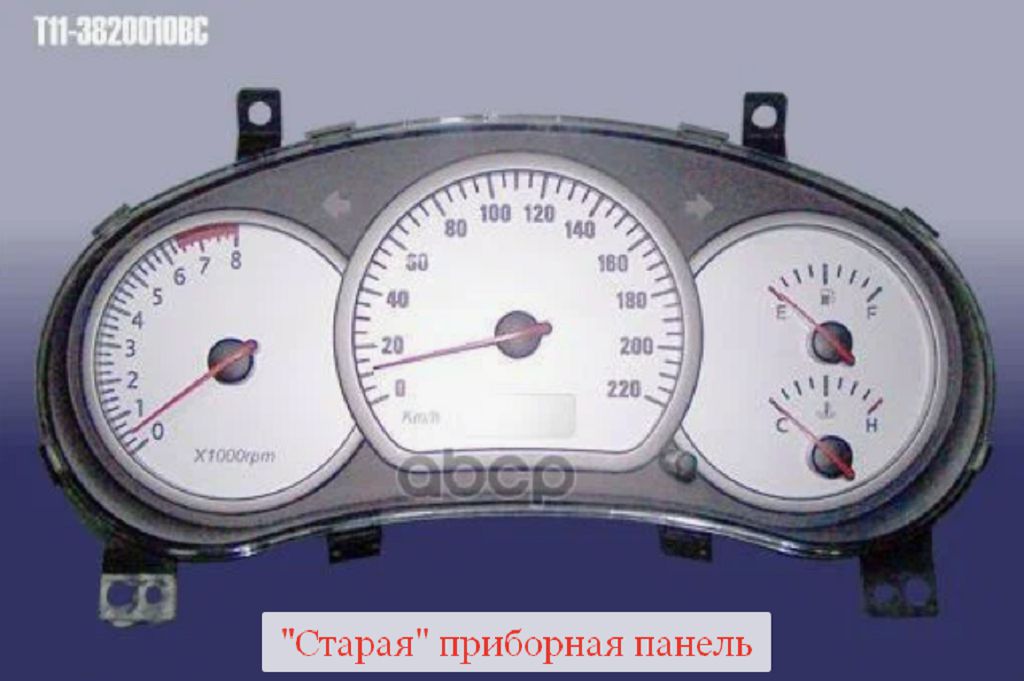
Hey everyone, let’s dive into the differences between the instrument panels of the older Tiggo T11 and the newer, restyled T11 FL. We’ll be looking at the visual changes, the functionality updates, and, most importantly, how to replace one if needed.
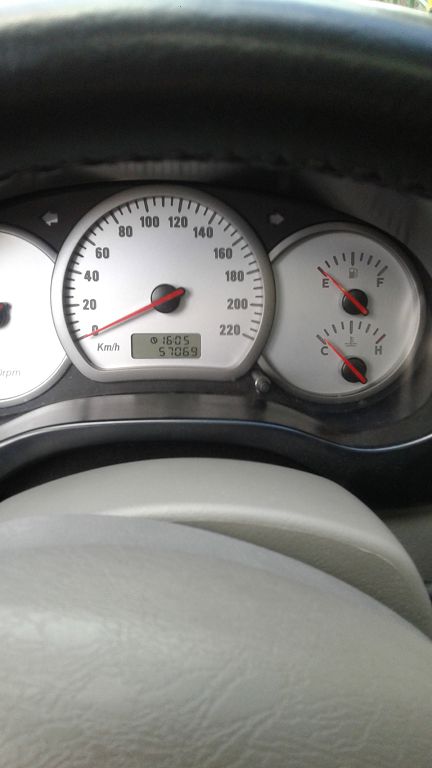
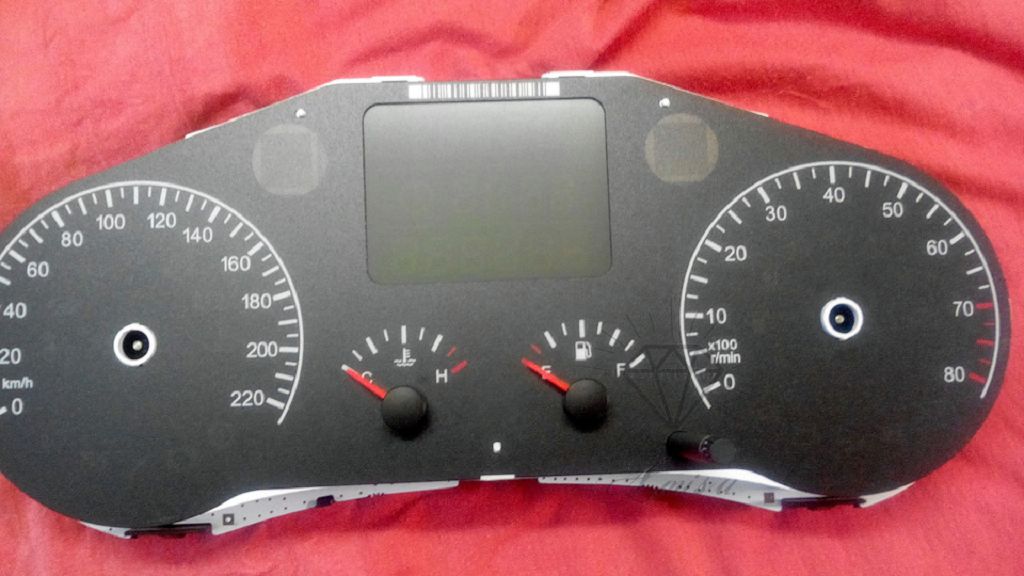
First off, let’s talk about the restyled T11 FL. The most noticeable difference is the overall design. The older model had a more… well, let’s just say a more utilitarian look. It was functional, but not exactly stylish. The FL, however, boasts a much more modern and sleek design. The gauges are clearer, the information is presented more intuitively, and the overall aesthetic is significantly improved. You’ll notice a sharper, more angular design language compared to the softer curves of the older model. The materials also feel a step up – a more premium feel to the plastics and a more refined overall assembly. We’re talking about a noticeable difference in the quality of the materials used. Think less scratchy plastic and more of a soft-touch finish in certain areas. Even the backlighting seems improved, offering better visibility in various lighting conditions. The color scheme is also different; the FL tends to favor a more sophisticated color palette, often incorporating blues and whites, whereas the older model leaned towards more traditional greens and oranges.
Now, let’s move on to the dashboard itself. The layout of the dashboard is where you’ll see some of the most significant changes. The older T11 had a more cluttered dashboard, with buttons and controls seemingly scattered everywhere. The FL, on the other hand, features a more streamlined and organized layout. Buttons are grouped logically, making it easier to find and use the controls you need while driving. This is a huge improvement in terms of ergonomics and driver experience. The placement of the screen is also different; the FL often features a larger, more centrally located screen, enhancing visibility and integration with the overall design. The older model’s screen, while functional, felt a bit like an afterthought, almost tacked on as an accessory. The FL integrates the screen seamlessly into the dashboard design. You’ll also notice differences in the air vents and the overall shape of the dashboard itself. The FL has a more sculpted and dynamic look, while the older model is more straightforward and boxy.
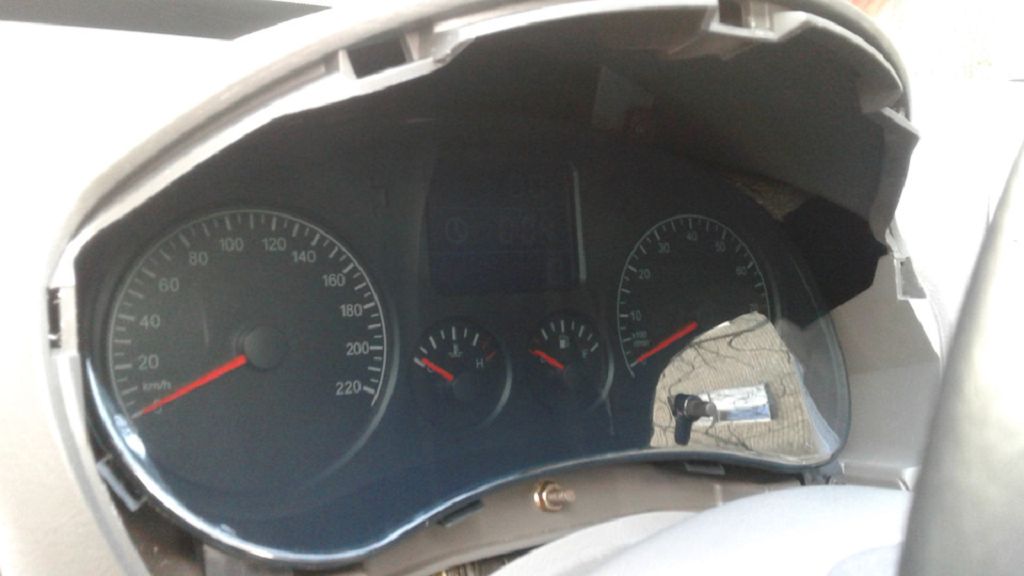
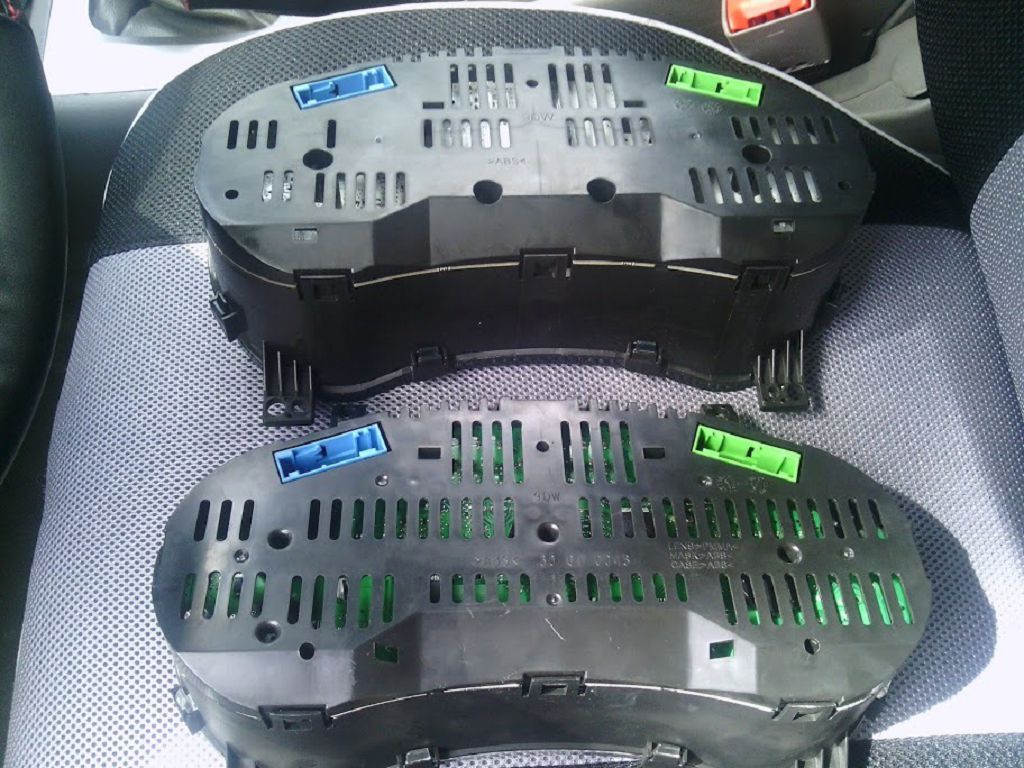
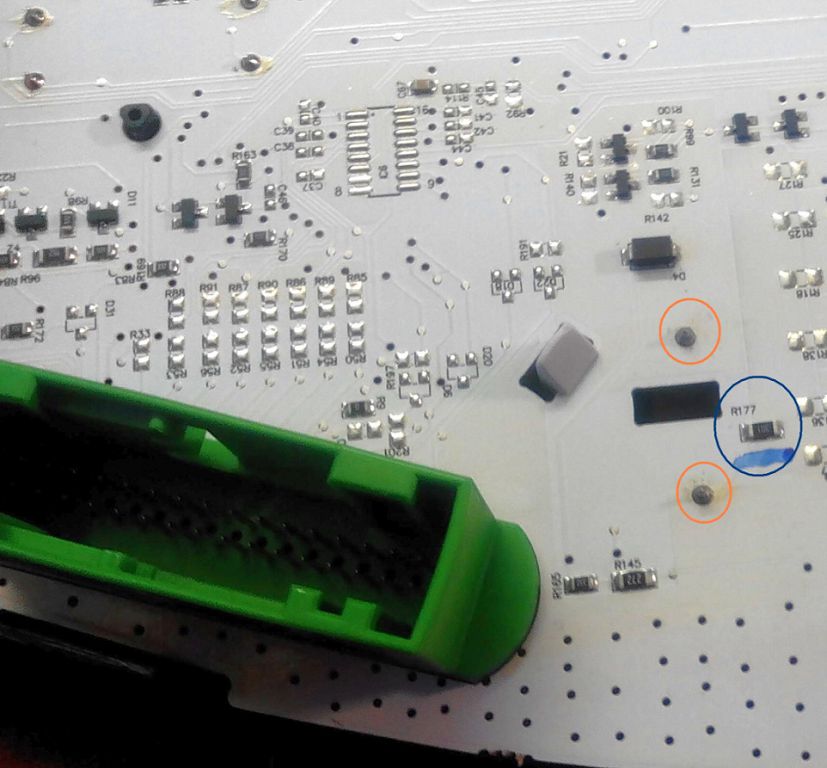
Finally, let’s get into the nitty-gritty: replacing the instrument panel. This is not a job for the faint of heart, and it requires a decent level of mechanical aptitude. You’ll need the right tools, a service manual, and a good amount of patience. First, you’ll need to disconnect the battery to prevent any electrical shorts. Then, you’ll need to carefully remove the trim pieces surrounding the instrument panel. This often involves unscrewing various fasteners and carefully prying off plastic clips. Be gentle to avoid breaking anything. Once the trim is removed, you’ll have access to the instrument panel itself. You’ll need to disconnect the wiring harnesses and carefully remove the panel from its mounting points. Installing the new panel is essentially the reverse process. Make sure all the connections are secure before reassembling everything. Remember, if you’re not comfortable working on your car’s electrical system, it’s best to take it to a qualified mechanic. Improper installation could lead to serious problems. There are plenty of online resources and videos that can guide you through the process, but always prioritize safety and proceed with caution. Remember to double-check all your connections before you start the car. A simple mistake could lead to a costly repair. Take your time, be methodical, and you should be able to successfully replace your Tiggo T11 instrument panel.
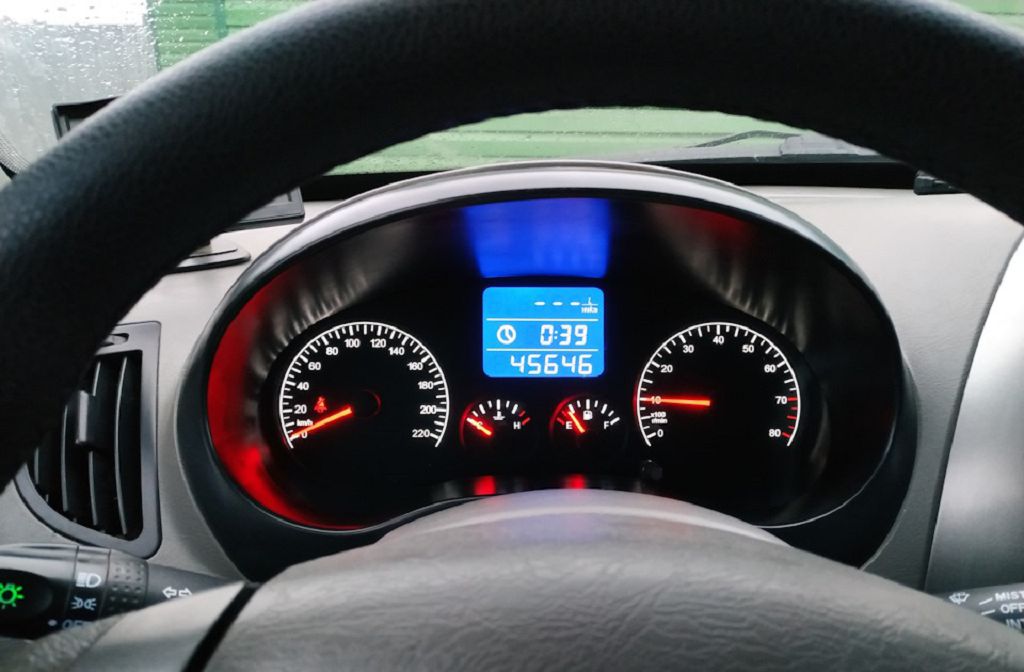
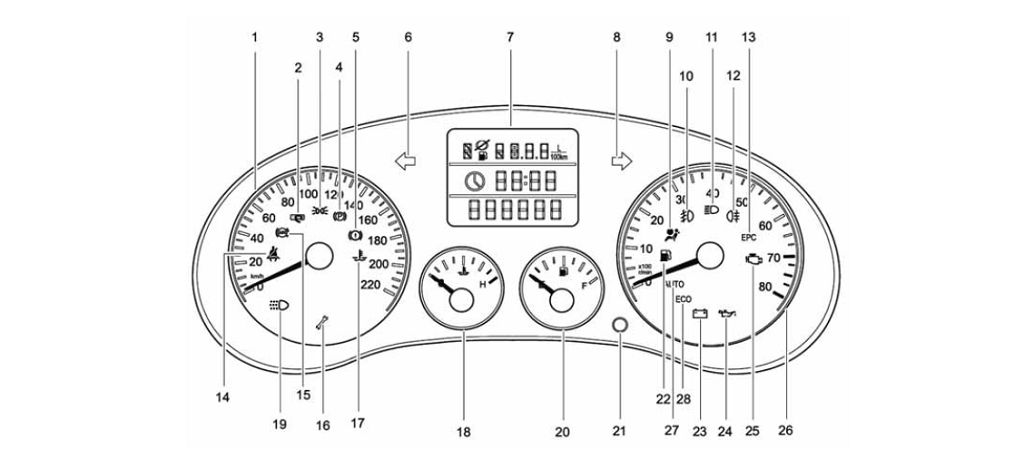
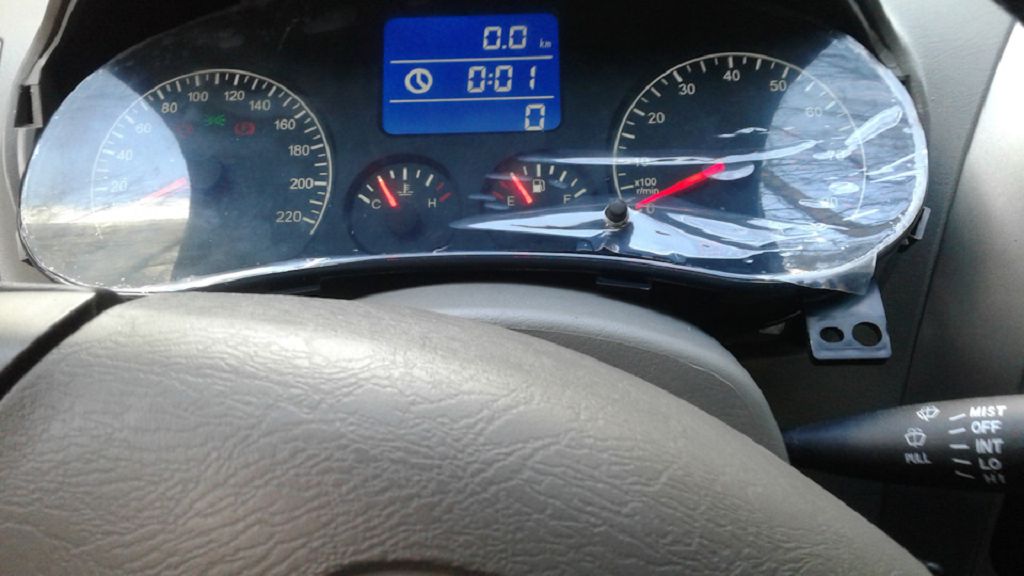
Okay, let’s dive right into the Tiggo T11 instrument panel. First up, the on-board computer display. This is a really interesting feature, and there are some key differences between the older models and the newer ones. The older Tiggo T11s had a pretty basic display, showing just the essentials – speed, RPMs, fuel level, and maybe a few warning lights. But the newer models, especially those with the FL upgrade, boast a much more sophisticated system. We’re talking a full-color screen, often with a much higher resolution. This means you get a clearer, more detailed view of all your vehicle’s information. You’ll see things like average fuel consumption, trip distances, outside temperature, and even potentially more advanced data like tire pressure monitoring system readings. The difference is night and day. You really appreciate the upgrade if you’ve used both. The responsiveness is also noticeably improved; the information updates much more quickly and smoothly on the newer systems. It’s a much more intuitive and user-friendly experience overall. We’ll be showing you close-up shots of both the old and new displays so you can see the difference for yourselves.
Now, let’s talk about replacing a conventional dashboard with an FL dashboard. This is a more involved process, and it’s not something you’d typically do yourself unless you’re pretty comfortable working on car electronics. It’s not just a simple swap; there’s a fair bit of wiring involved. You’ll need to carefully disconnect the old dashboard, making sure you note where everything goes before you start taking things apart. Then, you’ll need to connect the new FL dashboard, ensuring all the wiring is correctly matched. This is where things can get tricky. If you make a mistake, you could damage the dashboard or even your car’s electrical system. We’ll be showing you the entire process step-by-step, but I strongly recommend watching carefully and perhaps even pausing the video to make sure you understand each step before attempting it yourself. If you’re not comfortable with this level of car maintenance, it’s best to take it to a professional mechanic. They’ll have the expertise and the tools to do it safely and correctly.
Finally, let’s talk about the cost. How much do these dashboards actually cost? Well, that depends on a few factors. The price of a new FL dashboard can range from around FIVE HUNDRED DOLLARS to over ONE THOUSAND DOLLARS, depending on where you buy it and the specific features it includes. Used dashboards are naturally cheaper, but you run the risk of getting one that’s already damaged or nearing the end of its lifespan. Then there’s the cost of installation. If you’re having a professional mechanic do it, you’ll need to factor in their labor costs, which can add another TWO HUNDRED to FIVE HUNDRED DOLLARS to the overall expense. So, before you decide to upgrade, it’s important to weigh the cost against the benefits. Is the improved functionality and aesthetics worth the investment? That’s a question only you can answer. But hopefully, this information will help you make an informed decision.