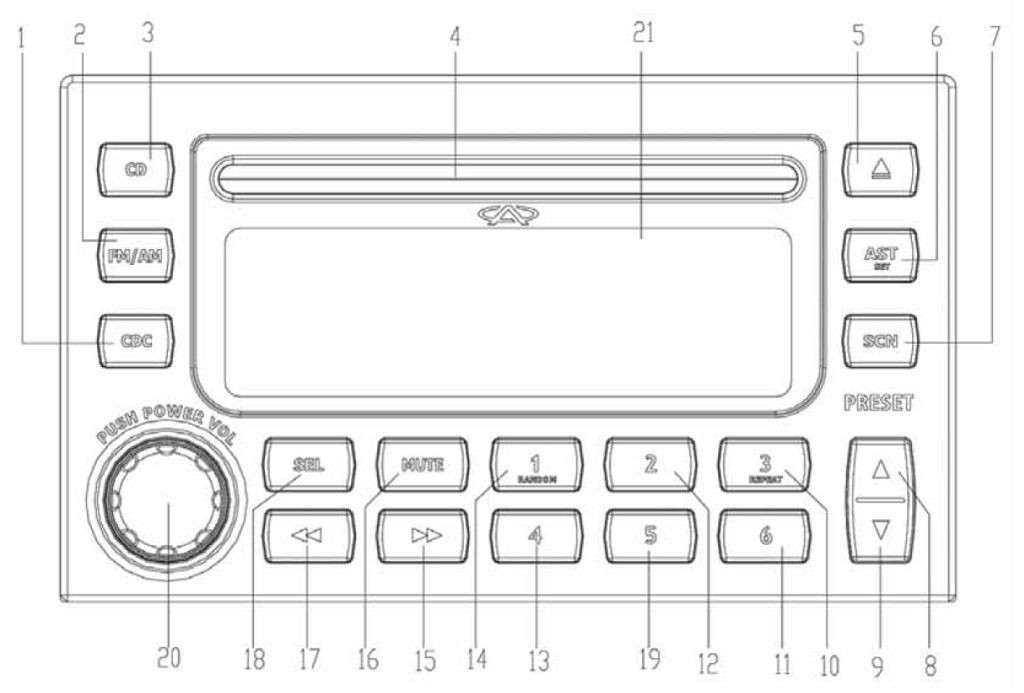
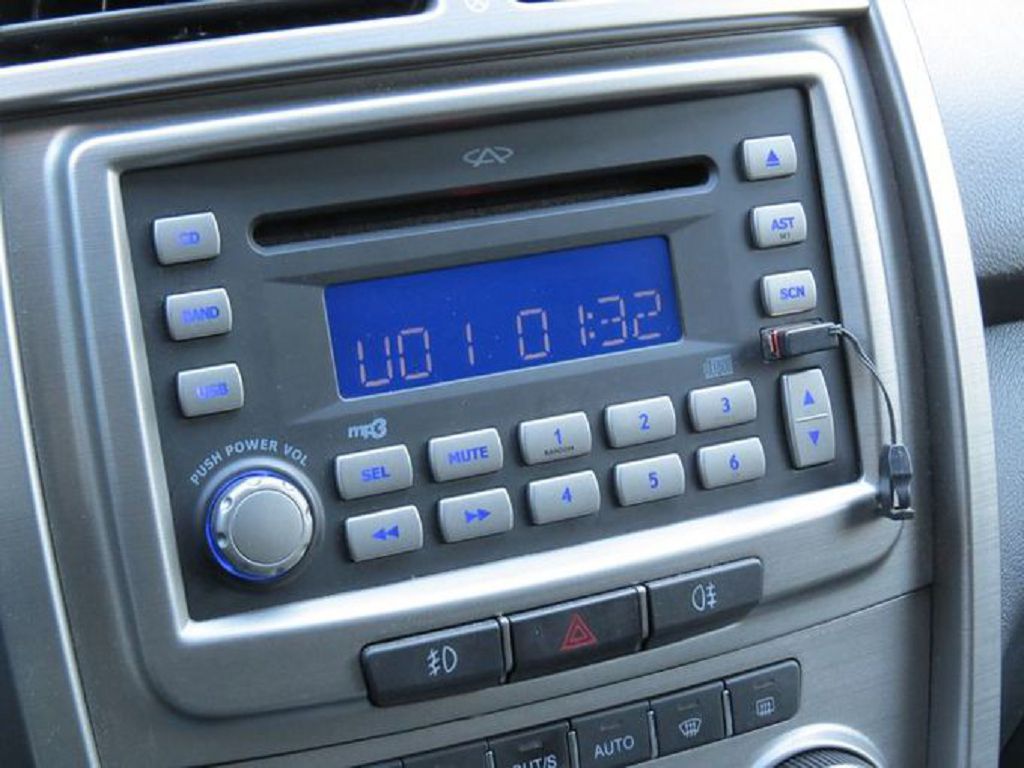
Okay, let’s dive right into the controls of this Chery Tiggo T11’s OEM stereo. You’ve got your main volume knob, of course, right there in the center. It’s nice and big, easy to grab even while driving. Then, surrounding that, you’ll see a cluster of buttons. We’ve got the power button, obviously. Next to that, you’ll find the source selection button – that’s how you switch between FM radio, AM radio, AUX, and USB. It’s pretty straightforward. Above the volume knob, you’ll see the track selection buttons – next and previous. Simple enough. And then, to the right of the volume knob, you’ll find the buttons for navigating through your radio presets. Saving your favorite stations is a breeze. Remember to hold down the preset button to save a station. It’s a small detail, but it makes a big difference. Don’t forget to check out the little display screen above the buttons; it shows you what source you’re using, the frequency for radio, and the track information when playing music from USB. It’s all very intuitive once you get used to it.
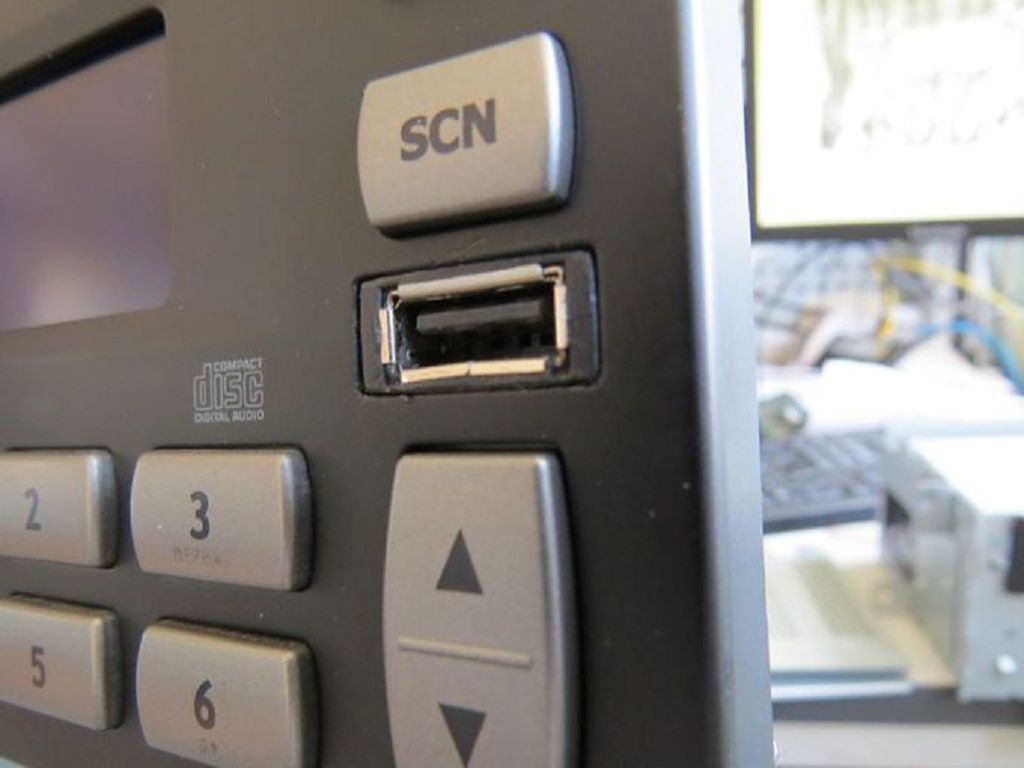
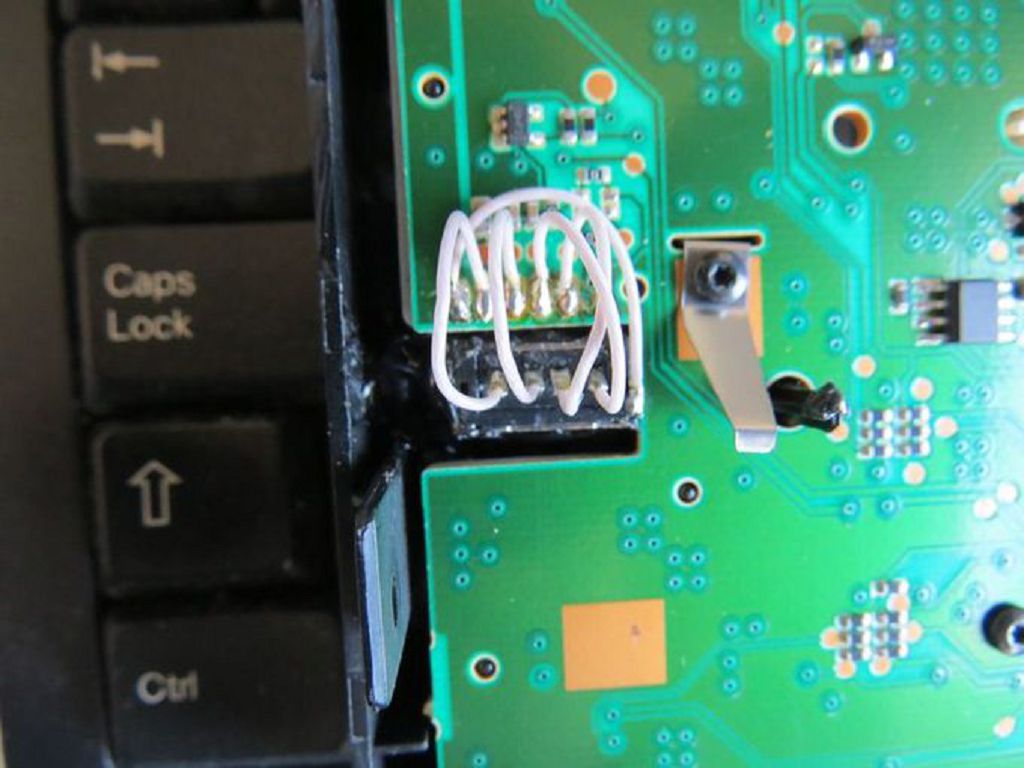
Now, let’s talk about getting that USB connector onto the front panel. This is a bit more involved, but I’ll walk you through it step-by-step. First, you’ll need to locate the small panel on the lower part of the dashboard, just below the stereo unit. It’s usually held in place by a couple of small clips. Gently pry it open – you don’t want to force anything, or you might break the clips. Once you have the panel open, you’ll see the wiring harness for the stereo. Now, this is where things get a little tricky. You’ll need to carefully identify the correct wires for the USB connection. Your owner’s manual should have a wiring diagram, but if not, a quick online search should help you find one. Once you’ve identified the correct wires, you’ll need to connect the USB connector to them. Make sure the polarity is correct – you don’t want to short anything out. Once the wires are connected, carefully tuck them back into the dashboard. Then, reattach the small panel. And that’s it! You’ve successfully installed a front-panel USB connector. Remember, if you’re not comfortable with this, it’s always best to take it to a professional.
Finally, let’s go over the multimedia settings. Accessing these is usually done through the source selection button. Once you’ve selected USB or AUX, you’ll be able to access the settings menu. This menu will vary slightly depending on the firmware version of your stereo, but generally, you’ll find options to adjust the audio balance, treble, and bass. You might also find options to adjust the equalizer settings, allowing you to customize the sound to your preferences. Experiment with these settings to find the perfect sound for your ears. Some models even allow you to change the display brightness and other visual settings. Take some time to explore the menu and familiarize yourself with all the options available. It’s a great way to personalize your listening experience. Remember, if you have any questions or run into any problems, leave a comment below, and I’ll do my best to help.
So, let’s dive straight into the cost of the OEM stereo for the Chery Tiggo T11. Now, I couldn’t find a readily available, single price online. It really depends on where you buy it – from a dealership, an authorized parts supplier, or even potentially through online marketplaces. Dealerships will likely have the highest price, factoring in their overhead and markup. Independent parts suppliers might offer a slightly better deal, but you’ll need to do some legwork to find a reputable one. And then there’s the online market – you might find some bargains, but always be cautious about counterfeit parts or damaged goods. My advice? Call around to a few different places and get quotes. Compare prices, and don’t forget to factor in any shipping costs if you’re not buying it locally. It’s worth the effort to shop around and save some money. We’re talking about potentially a significant investment, so don’t rush into it.
Now, let’s talk about alternatives. If the OEM stereo’s price tag is a bit steep, or if you’re just looking for something with more features, there are plenty of aftermarket options available. You’ve got your standard double-DIN head units, which offer a wide range of functionalities, from Bluetooth connectivity and navigation to Apple CarPlay and Android Auto. Many of these aftermarket units are significantly cheaper than the OEM stereo, and they often come packed with features the OEM unit might lack. Then you have the more advanced options, like those with larger touchscreens, built-in amplifiers, and even advanced sound processing capabilities. The choice really depends on your budget and what you want out of your in-car entertainment system. Consider what features are most important to you – navigation, hands-free calling, superior sound quality – and then research units that offer those features within your price range. Don’t be afraid to read reviews and compare specifications before making a decision. Remember, you’re investing in something you’ll be using every time you drive, so it’s worth taking your time to find the perfect fit. And don’t forget to check compatibility with your Chery Tiggo T11 before you buy anything! You don’t want to end up with a unit that doesn’t fit properly or doesn’t integrate seamlessly with your car’s electrical system.