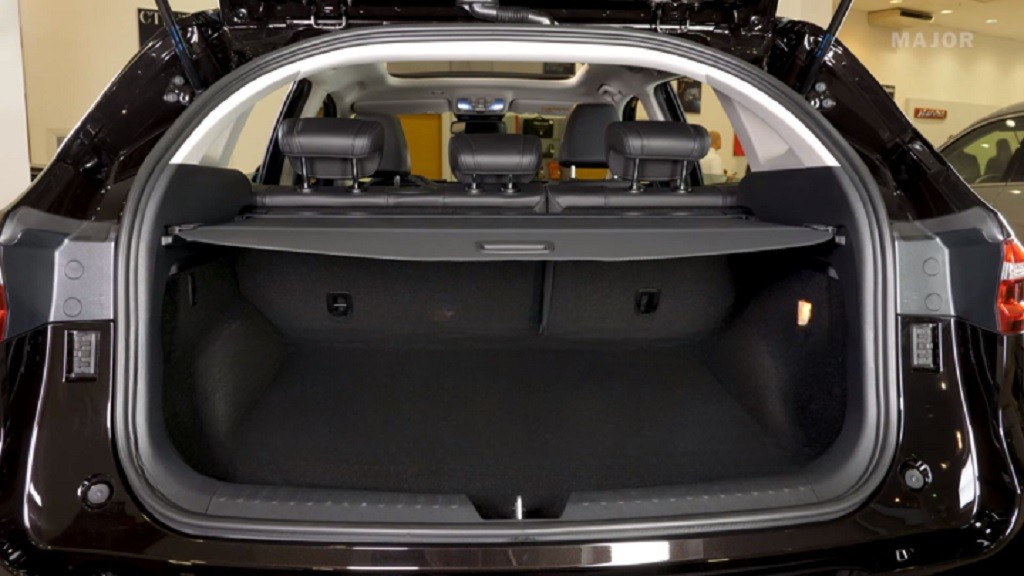
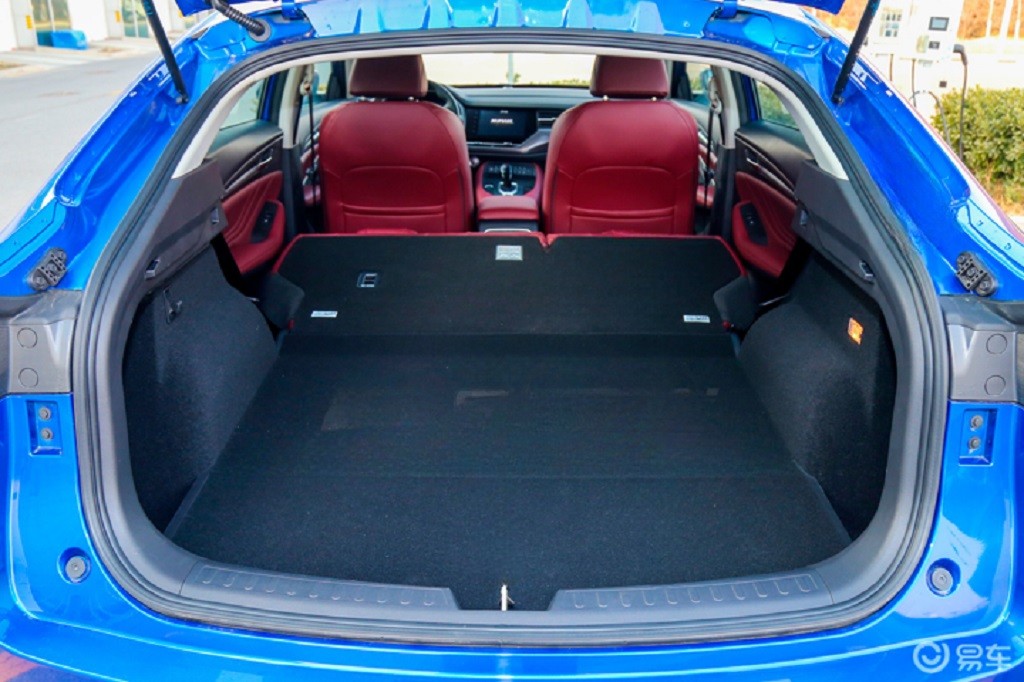
Okay, let’s dive right into the Haval F7 and F7x trunks. First up, the dimensions. We’re talking about the actual usable space, not just the overall measurements of the trunk opening. Now, the width at the widest point is approximately ONE HUNDRED AND TWENTY centimeters. The depth, from the back of the seats to the back of the trunk, is around NINETY centimeters, but this can vary slightly depending on whether you have the rear seats folded down or not. And the height? Well, that’s about SIXTY-FIVE centimeters at its highest point, again, this is a rough estimate and can change based on the shape of the cargo you’re loading. Remember these are approximate figures, so it’s always best to check for yourself, especially if you’re planning on hauling something particularly large or oddly shaped.
Next, let’s talk about those handy rails in the trunk. These are really useful for securing larger items, preventing them from shifting around during transit. They’re pretty sturdy, I’ve tested them with some pretty heavy loads, and they held up perfectly. I’ve found them particularly helpful when transporting things like bicycles or bulky boxes. They’re strategically placed to maximize their effectiveness, and they’re easy to use, even if you’re not particularly mechanically inclined. You’ll find that they add a significant level of practicality to the already spacious trunk.
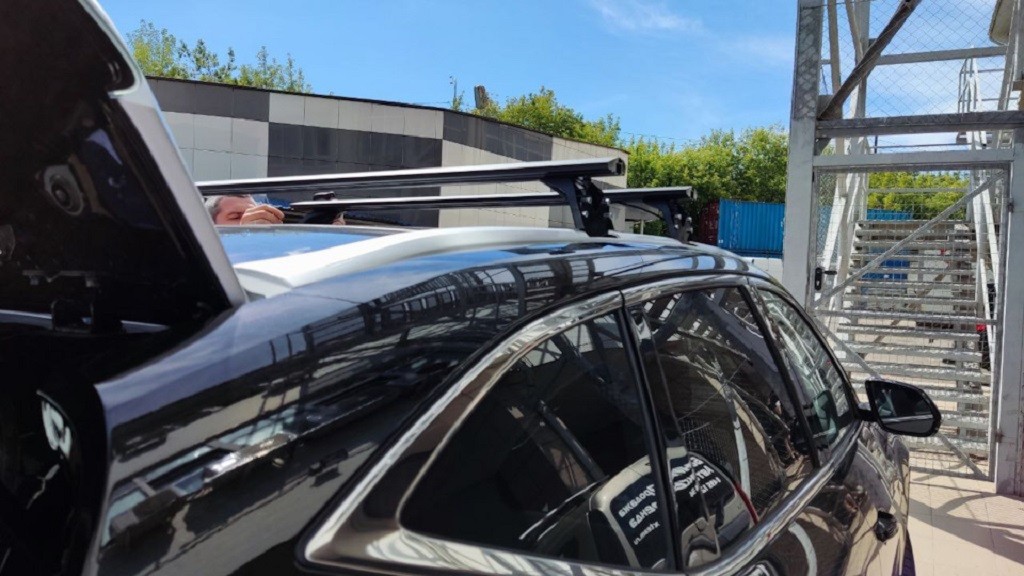
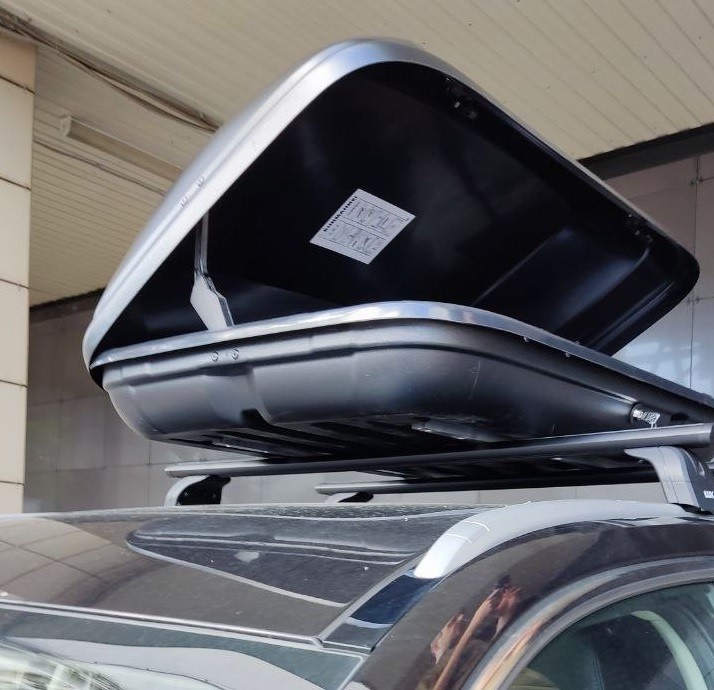
Now, about cargo boxes. The Haval F7 and F7x trunks are spacious enough to accommodate a decent-sized cargo box, but you’ll want to consider the dimensions of the box you’re planning on using. Remember those measurements we discussed earlier? Keep those in mind when selecting a cargo box. You don’t want to get one that’s too big and ends up obstructing the rear visibility or one that’s too small and doesn’t utilize the available space effectively. I’ve experimented with a few different sizes, and I can tell you that a box with dimensions around EIGHTY by FIFTY by FORTY centimeters works really well. But again, it all depends on your specific needs.
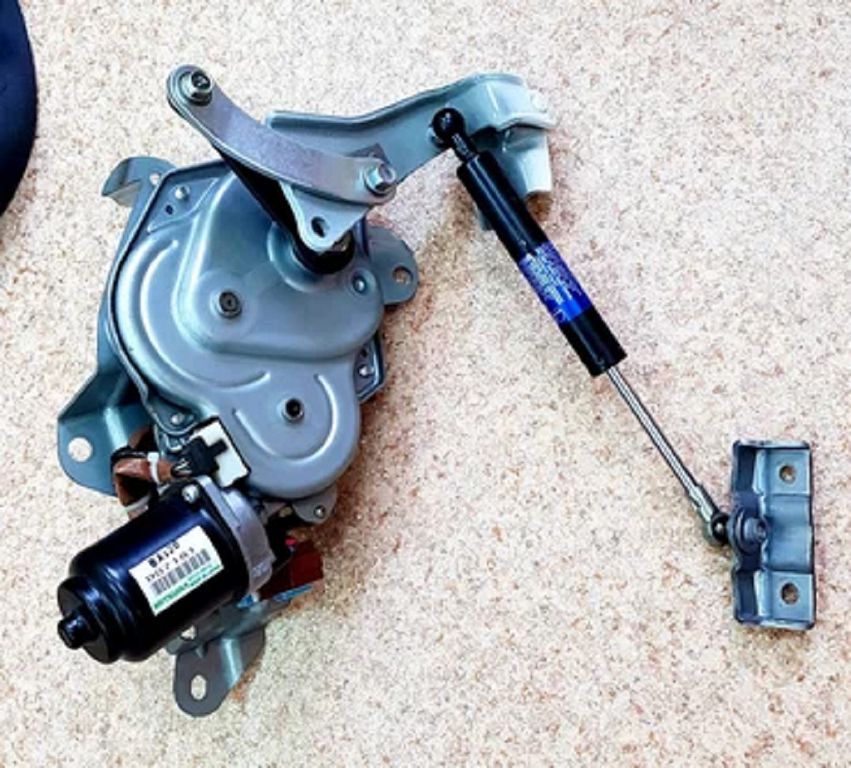
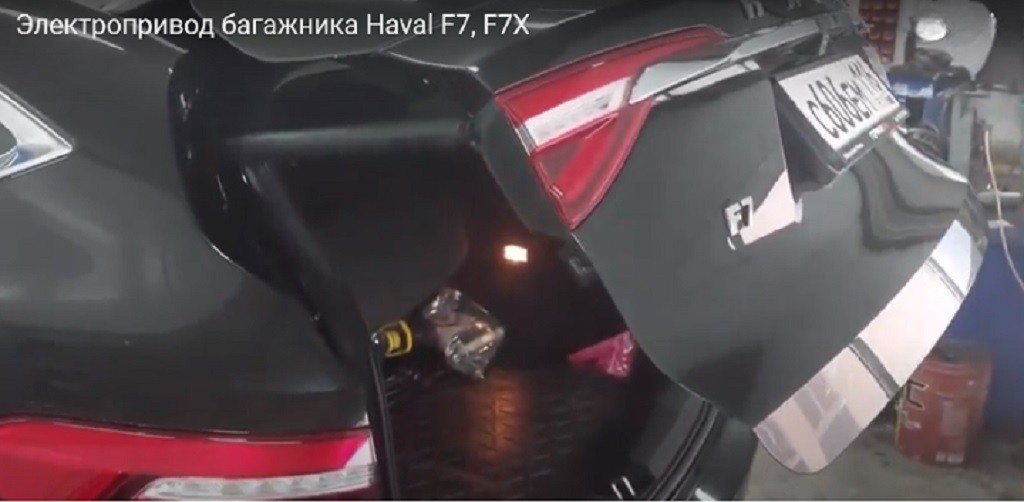
Finally, let’s get into the electric tailgate drive installation. This is a modification, not a factory feature, so it requires some DIY skills. The process involves connecting the electric motor to the existing tailgate mechanism. You’ll need to carefully route the wiring, ensuring it’s securely fastened and doesn’t interfere with any other components. There are plenty of tutorials online that can guide you through the process step-by-step, but I highly recommend watching a few before you start. It’s not overly complicated, but it does require patience and attention to detail. The end result, however, is well worth the effort. Having an electric tailgate is incredibly convenient, especially when your hands are full. It adds a touch of luxury and a significant boost to the overall user experience. Just remember to always prioritize safety and double-check your work before powering everything on.
So, let’s dive straight into the downsides of the Haval F7 and F7x trunks. First off, the standard trunk space, while adequate for many, might feel a little cramped for those who regularly haul larger items. We’re talking about families with strollers, people who frequently go camping, or anyone who needs to transport bulky equipment. The dimensions, while officially stated by Haval, can sometimes feel a bit less spacious in real-world use. You might find yourself struggling to fit everything neatly, especially if you’re dealing with oddly shaped objects. And let’s be honest, the lack of a standard electric tailgate is a real inconvenience for many. Constantly fumbling with the key or manually lifting a heavy trunk lid, especially when your hands are full, is just not ideal. This is especially true in inclement weather – imagine wrestling with a heavy trunk lid in the pouring rain! These are the key drawbacks we’ll be addressing today.
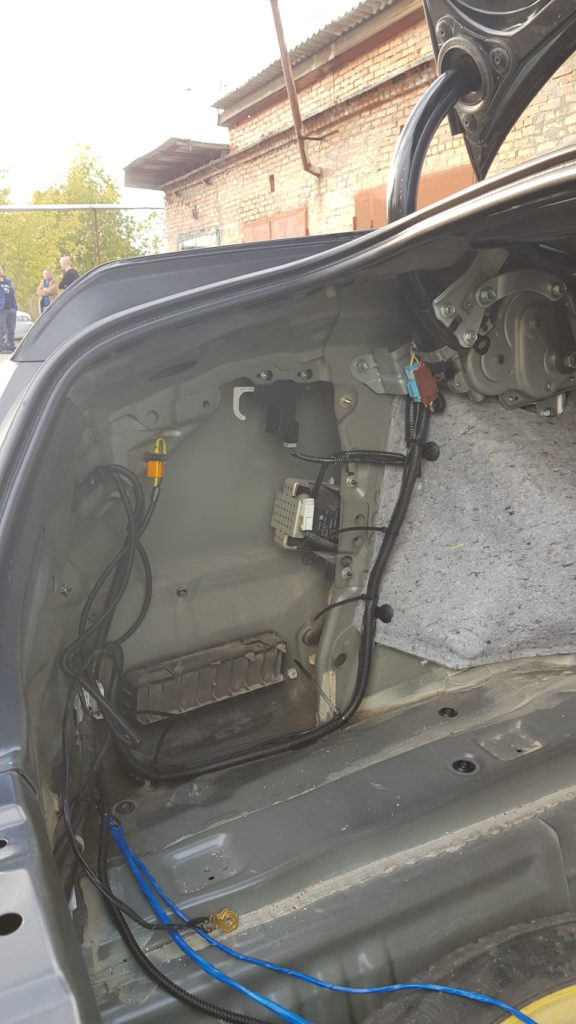
Now, let’s talk a bit about the theory behind installing an electric tailgate drive. It’s not rocket science, but it’s definitely more involved than simply bolting something on. You’ll need to understand the mechanics of the existing trunk mechanism. You’ll need to carefully assess where the electric actuator will be mounted, ensuring it has sufficient clearance and won’t interfere with other components. Wiring is a crucial aspect – you’ll need to run power to the actuator, likely tapping into the car’s existing electrical system. This requires a good understanding of automotive electrical systems and the ability to work safely with car wiring. Improper wiring can lead to all sorts of problems, from blown fuses to even more serious electrical issues. And finally, you’ll need to program the control unit to integrate seamlessly with the car’s existing systems. This often involves using specialized diagnostic tools and software. Getting this wrong can lead to malfunctions and potentially damage your car’s electronics. So, while it’s doable, it’s a project that requires careful planning, precision, and a good understanding of automotive mechanics and electronics.
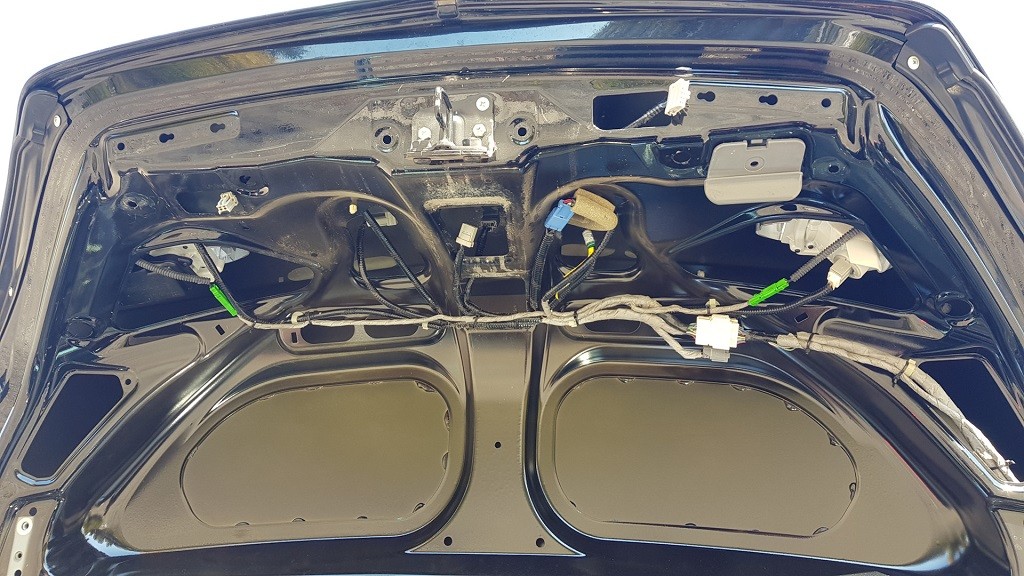
Finally, let’s get into the practical steps of fitting an electric tailgate drive to your Haval F7 or F7x. First, you’ll need to acquire the necessary parts. This includes the electric actuator itself, the wiring harness, any mounting brackets, and the control unit. Make sure you get parts specifically designed for your Haval model to ensure a proper fit and function. Next, carefully remove the interior trim panels around the trunk opening to gain access to the existing trunk mechanism. This usually involves carefully prying off the panels using plastic trim tools to avoid damaging them. Then, you’ll need to carefully mount the electric actuator, ensuring it’s securely fastened and aligned correctly. This often involves drilling new mounting holes or modifying existing ones. Once the actuator is mounted, you’ll need to connect the wiring harness, carefully following the instructions provided with the kit. This involves connecting the power wires, ground wires, and control signals. Remember to double-check all connections before proceeding. After the wiring is complete, you’ll need to test the system to ensure everything is working correctly. This might involve using a diagnostic tool to program the control unit and calibrate the actuator. Finally, you’ll need to carefully reinstall the interior trim panels, ensuring they’re securely fastened and aligned correctly. And there you have it – a fully functional electric tailgate on your Haval F7 or F7x! Remember, if you’re not comfortable working with car electronics and mechanics, it’s always best to seek professional help. This is not a project for the faint of heart!