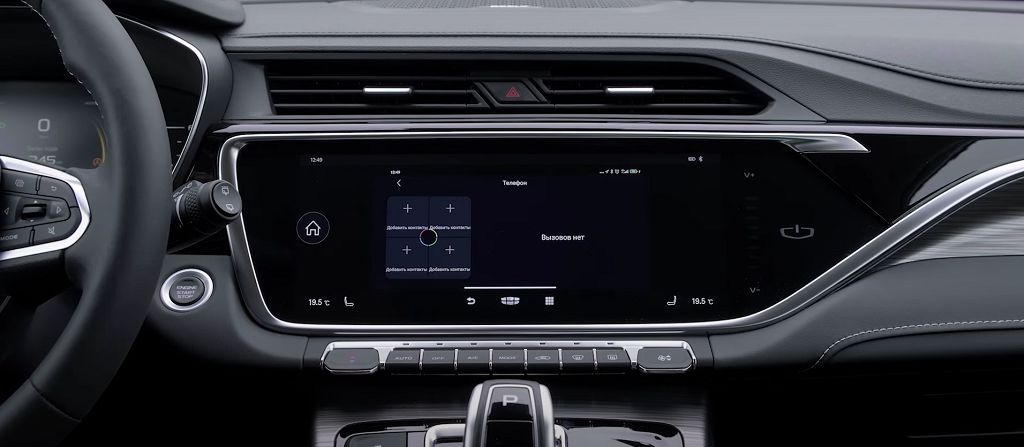
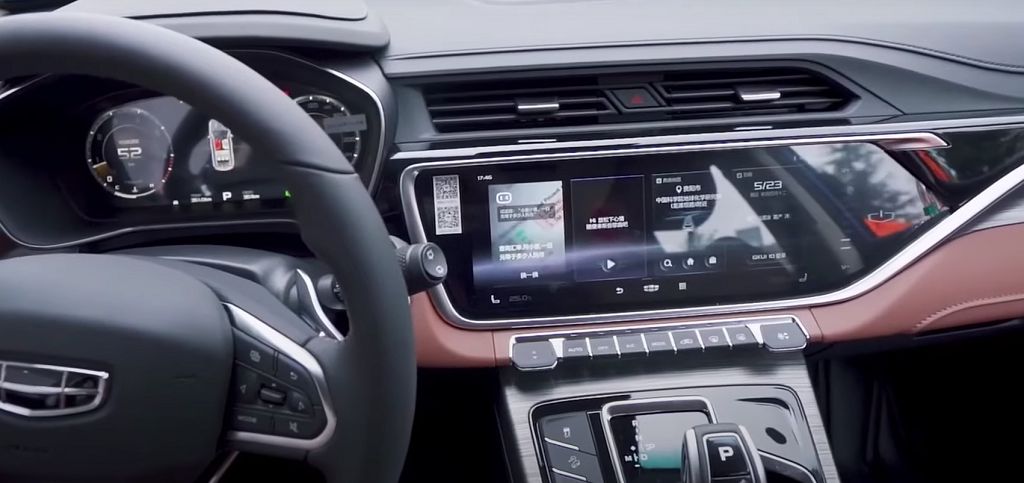
So, let’s dive right into the Geely Atlas’s infotainment system, or as some might call it, the Magnetola. It’s more than just an audio system; it’s the central hub of your driving experience. We’re going to explore its design and operation in detail. First off, the screen itself. It’s a decent size, I’d say around EIGHT or NINE inches, depending on the year and trim level of your Atlas. The resolution is pretty sharp, making navigation and using the various apps a breeze. The interface is intuitive enough, though it does take a little getting used to. The menu structure is fairly logical, but there are a few quirks. For example, accessing certain settings can be a bit buried in the menus, requiring a few extra taps. But overall, it’s not overly complicated.
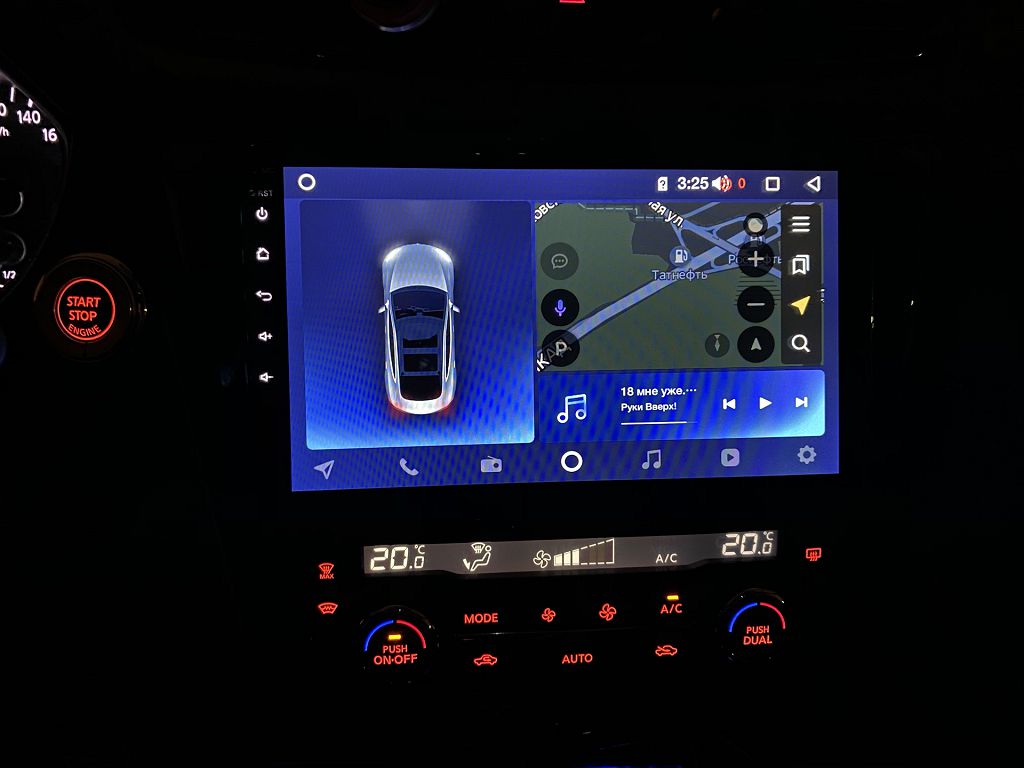
The physical buttons are minimal, which contributes to the clean aesthetic. You have your volume knob, which is a welcome addition in my opinion, because sometimes touchscreens just aren’t practical while driving. There are also a few shortcut buttons for things like power, home screen, and source selection. The responsiveness of the touchscreen is generally good, though occasionally I’ve experienced a slight lag. Nothing too major, but something to be aware of. Sound quality is pretty decent for a factory system. It’s not going to blow you away, but it’s perfectly adequate for everyday listening. The bass is a little lacking, but the highs and mids are clear. You can tweak the equalizer settings to adjust the sound to your preference, which is a nice touch. Connectivity is another key feature. You’ve got Bluetooth for hands-free calling and audio streaming, which works flawlessly in my experience. Apple CarPlay and Android Auto are also supported, which is a huge plus for most people. This allows you to seamlessly integrate your smartphone and access all your favorite apps, like navigation, music, and messaging, directly through the car’s screen. Wireless connectivity is available on some models, but not all, so be sure to check your specific vehicle’s specifications.
Now, let’s talk about alternatives. If you’re not happy with the factory-installed system, there are options. You could explore aftermarket head units. There’s a whole world of possibilities out there, from basic replacements to high-end systems with navigation, advanced audio processing, and even more features than the OEM unit. However, upgrading can be a bit of a hassle. It might require professional installation, and you could void your warranty if you’re not careful. It’s also important to ensure compatibility with your vehicle’s electrical system. Another option is to simply stick with the OEM system and focus on improving the sound quality through aftermarket speakers, amplifiers, and subwoofers. This is a less invasive approach and can significantly enhance the audio experience without the complexities of replacing the entire head unit. This route often provides a more cost-effective solution, too. The choice really depends on your budget, technical skills, and desired level of improvement.
Finally, let’s briefly touch on the firmware. The Geely Atlas Magnetola runs on a proprietary firmware, which means updates are handled by Geely themselves. This isn’t necessarily a bad thing, but it does mean you’re reliant on them for bug fixes and new features. Checking for updates periodically is a good idea, as these can often improve performance and add functionality. Unfortunately, the update process isn’t always straightforward, and it can sometimes be a bit of a hassle. There’s not a lot of community support for this specific system, unlike some more popular aftermarket units. So, if you encounter problems, you might need to rely on your dealership or Geely’s customer support.
Okay, so let’s dive straight into updating the software on your Geely Atlas head unit. This isn’t your typical smartphone update; it’s a bit more involved, but don’t worry, I’ll walk you through it step-by-step. First, you’ll need to download the latest firmware from the Geely website – make sure you get the correct version for your specific Atlas model, otherwise, you might run into some serious problems. Once you’ve downloaded it, you’ll need a USB drive formatted to FAT32. This is crucial; the system won’t recognize other formats. Copy the firmware file onto the USB drive – just the file itself, no need for extra folders or anything. Now, carefully insert the USB drive into the designated port on your Geely Atlas’s head unit. The location varies slightly depending on the year of your model, so check your owner’s manual if you’re unsure. Once it’s plugged in, the system should automatically detect the update. You’ll likely see a notification on the screen prompting you to begin the update process. Hit «yes» or the equivalent, and then just sit back and let it do its thing. The update can take anywhere from FIVE to FIFTEEN minutes, depending on the size of the file and the processing power of the unit. Don’t interrupt the process; doing so could brick your entire system. Once it’s finished, you’ll see a confirmation message. Safely remove the USB drive, and you’re good to go! You should notice a significant improvement in performance and possibly even some new features.
Now, let’s talk about removing and installing the head unit itself. This is a bit more advanced, and I strongly recommend watching the video carefully before attempting this yourself. You’ll need a few tools: a trim removal tool set – these are plastic tools designed to pry apart trim pieces without scratching them – and a set of Torx screwdrivers. Again, the exact tools and procedure might vary slightly depending on the year and trim level of your Atlas, so consult your owner’s manual. Start by carefully removing the trim pieces surrounding the head unit. Use the trim removal tools gently to avoid damaging the plastic. There are usually several clips holding these pieces in place, so work slowly and methodically. Once the trim is removed, you’ll see the screws holding the head unit in place. These are usually Torx screws, so make sure you have the right size screwdriver. Carefully unscrew these screws, and then gently pull the head unit out. There might be some connectors at the back, so disconnect them carefully. Remember to take pictures or videos as you go, so you know how to put everything back together. Installing a new unit is essentially the reverse process. Connect the connectors, carefully screw the unit back in, and then reattach the trim pieces. Remember to double-check all your connections before turning the car on. If you’re not comfortable doing this yourself, it’s always best to take it to a professional. Improper installation could damage your car’s electrical system.