So, let’s dive straight into the world of Haval F7 and F7X brake pads. We’re talking about why you should replace them all at once, front and rear, and what to consider when you do.
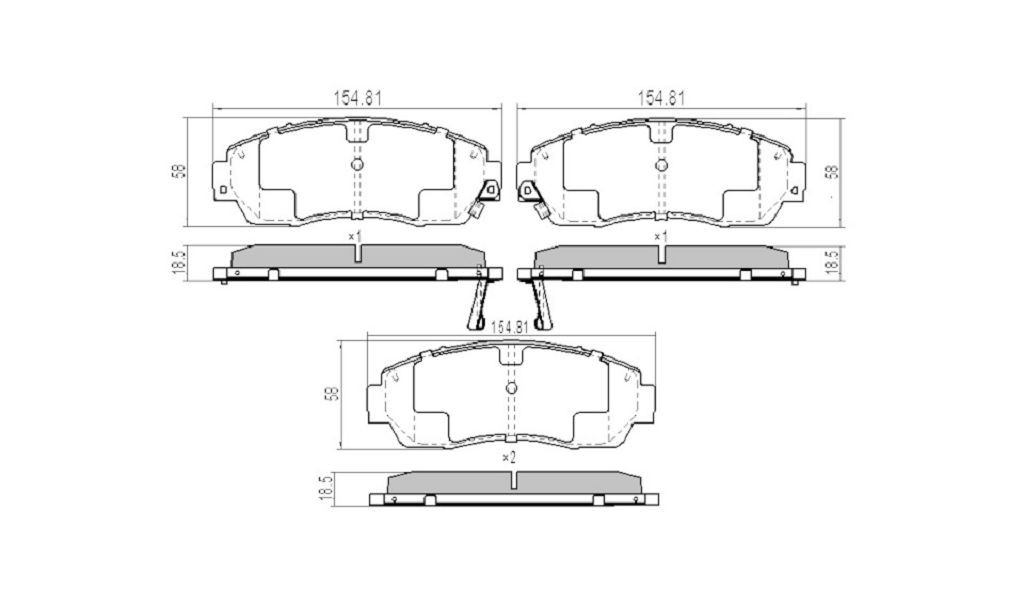
First off, let’s talk about the original equipment manufacturer, or OEM, brake pads. These are the pads that came with your Haval from the factory. They’re designed to meet specific performance and safety standards set by Haval. Now, you’ll notice certain characteristics. They usually have a specific part number stamped on them, which is crucial for identification. Pay close attention to the material composition – often a blend of metallic and non-metallic components designed for a balance of stopping power and longevity. The friction coefficient is another key factor; this determines how effectively the pads grip the rotors. You’ll also want to note the wear indicators – those little metal tabs that make a scraping sound when the pads are nearing the end of their life. Understanding these characteristics helps you assess the quality of any replacement pads you consider.
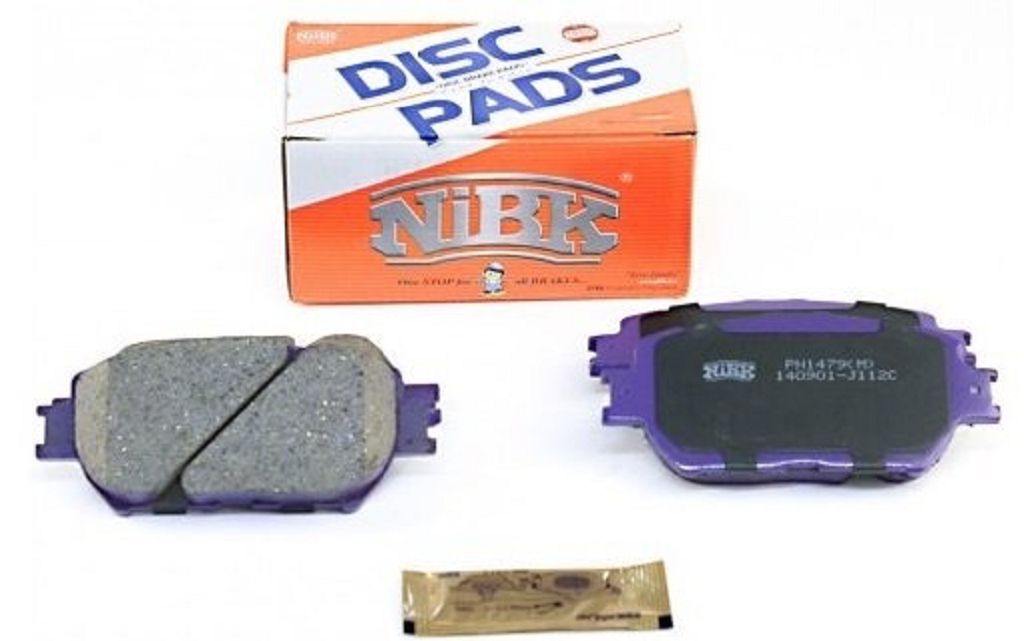
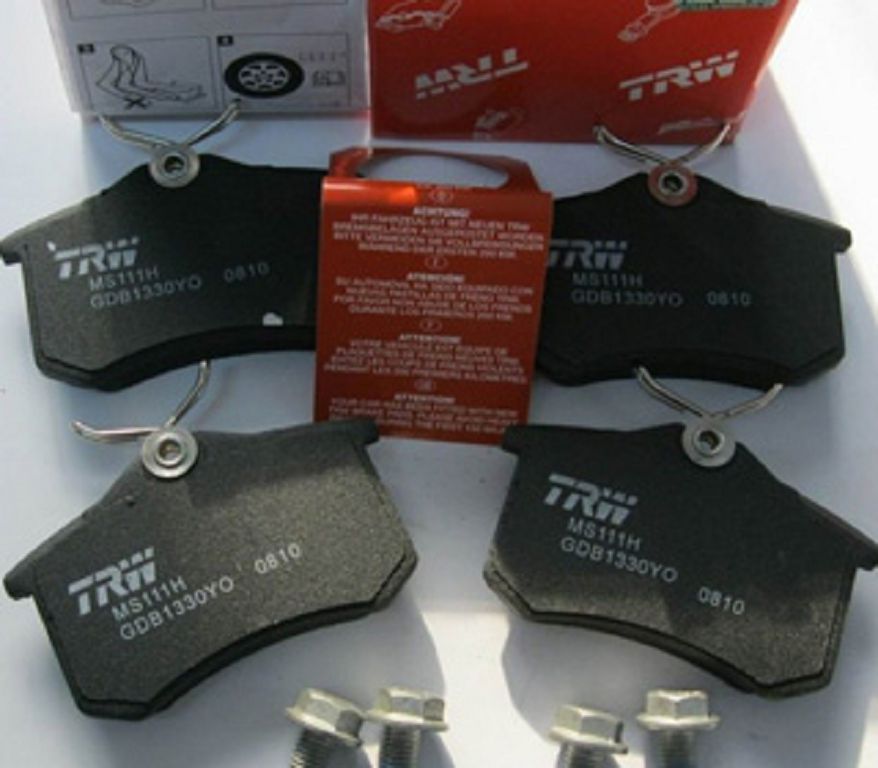
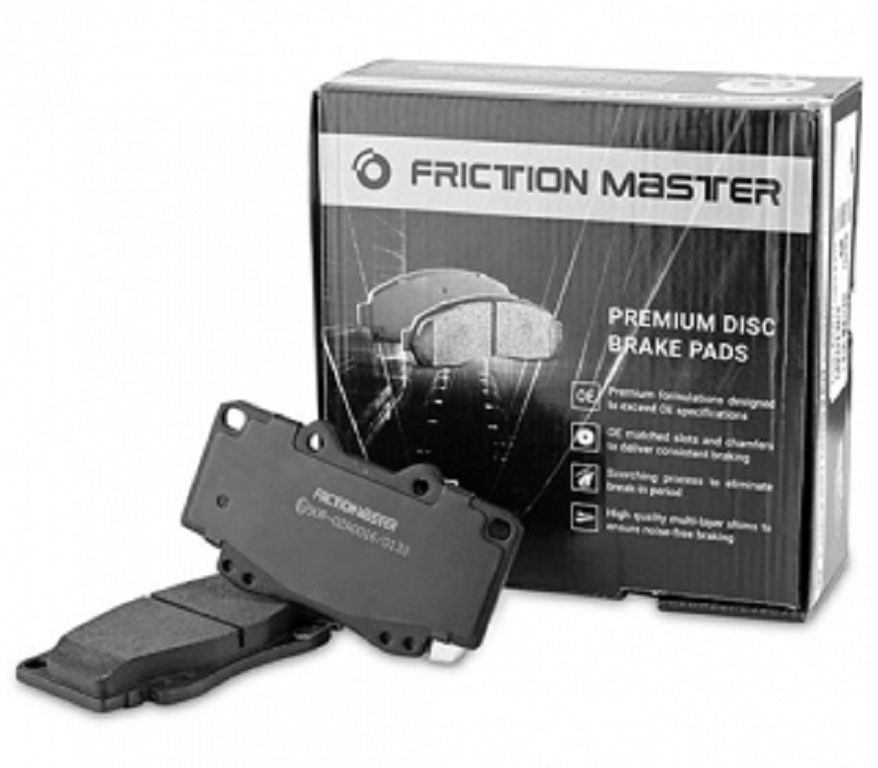
Now, let’s move on to the world of aftermarket brake pads – the analogs. There’s a HUGE range available, from budget-friendly options to premium performance pads. The price difference can be significant, so it’s important to do your research. When choosing analogs, always check reviews. Look for reviews that mention specific experiences with the Haval F7 and F7X. Pay attention to how long the pads lasted, how well they performed in various driving conditions – city driving, highway driving, even mountain driving if you’re into that. Read about any noise issues – squealing, grinding – that’s a common complaint with some aftermarket pads. Also, look for comments on brake dust. Some pads produce significantly more brake dust than others, which can be a nuisance. Don’t just look at the star rating; dig into the actual comments to get a real feel for the pad’s performance and reliability. Remember, cheap isn’t always cheerful when it comes to brake pads – safety is paramount.
Why replace all FOUR pads at once? Well, think about it this way. Your brakes are a system. They work together. If you replace only the front pads, for example, and the rear pads are significantly worn, you’re creating an imbalance in your braking system. This can lead to uneven braking, reduced stopping power, and potentially dangerous situations. Replacing all FOUR pads simultaneously ensures even wear and tear, optimal braking performance, and, most importantly, enhanced safety. It’s a small investment for a significant gain in peace of mind. Plus, it often makes the job easier and quicker for your mechanic. Consider it preventative maintenance – a proactive approach to ensuring your Haval F7 or F7X remains safe and reliable on the road. Think of it as a tune-up for your braking system, keeping everything in sync and performing at its best. It’s a small price to pay for the safety and reliability of your vehicle.
Okay, let’s dive straight into changing the brake pads on your Haval F7 or F7X. First things first, safety is paramount. Always work in a well-ventilated area, and make sure your parking brake is firmly engaged. You’ll need a jack, jack stands (crucial for safety!), wheel chocks, a socket set, a wrench, possibly a brake caliper compression tool, and of course, a new set of brake pads – make sure you get the right ones for the front and rear of your specific Haval model. Don’t skimp on quality here; your brakes are, well, pretty important!
Now, let’s start with the front brakes. First, you’ll need to jack up the vehicle and securely place it on jack stands. Never work under a vehicle supported only by a jack. Once it’s safely supported, remove the wheel. You’ll then see the brake caliper clamped around the rotor. You might need to use a caliper compression tool to push the piston back into the caliper. This is essential to create enough space for the new, thicker brake pads. There are different types of compression tools, so check a video or manual for your specific tool if you’re unsure. Some people use C-clamps, but a dedicated tool is safer and easier. Once the piston is compressed, carefully remove the old brake pads. Pay attention to how they’re positioned; you’ll want to put the new ones back in the same way. Clean the caliper and the caliper bracket thoroughly. Any debris can interfere with the smooth operation of your brakes. Now, carefully install the new brake pads, making sure they slide smoothly into their slots. Replace the wheel, lower the vehicle, and repeat the process for the other front wheel.
The rear brakes are often a bit different. On some Haval F7/F7X models, you might find a different caliper design, or even drum brakes instead of disc brakes. If you have drum brakes, the process is significantly more involved and requires specialized tools. If you’re not comfortable working on drum brakes, it’s best to take your vehicle to a professional mechanic. For disc brakes on the rear, the process is similar to the front, but there might be some variations in how the caliper is accessed or the piston compressed. Again, always refer to your vehicle’s repair manual for specific instructions. Remember to always check the brake fluid level after replacing the pads. If the level is low, you might need to top it up. Never overfill the brake fluid reservoir.
Once you’ve replaced all the pads, it’s crucial to pump the brake pedal several times to ensure the pads are making proper contact with the rotors. Then, take your Haval F7/F7X for a short test drive, but be cautious. Your brakes might feel a little different at first, so drive slowly and gently until you’re confident in their performance. And remember, always check your brake pads regularly to avoid any unexpected issues. Regular maintenance is key to safe driving. If you’re unsure about any part of this process, please consult a qualified mechanic. Your safety is the most important thing.

- Читайте также: