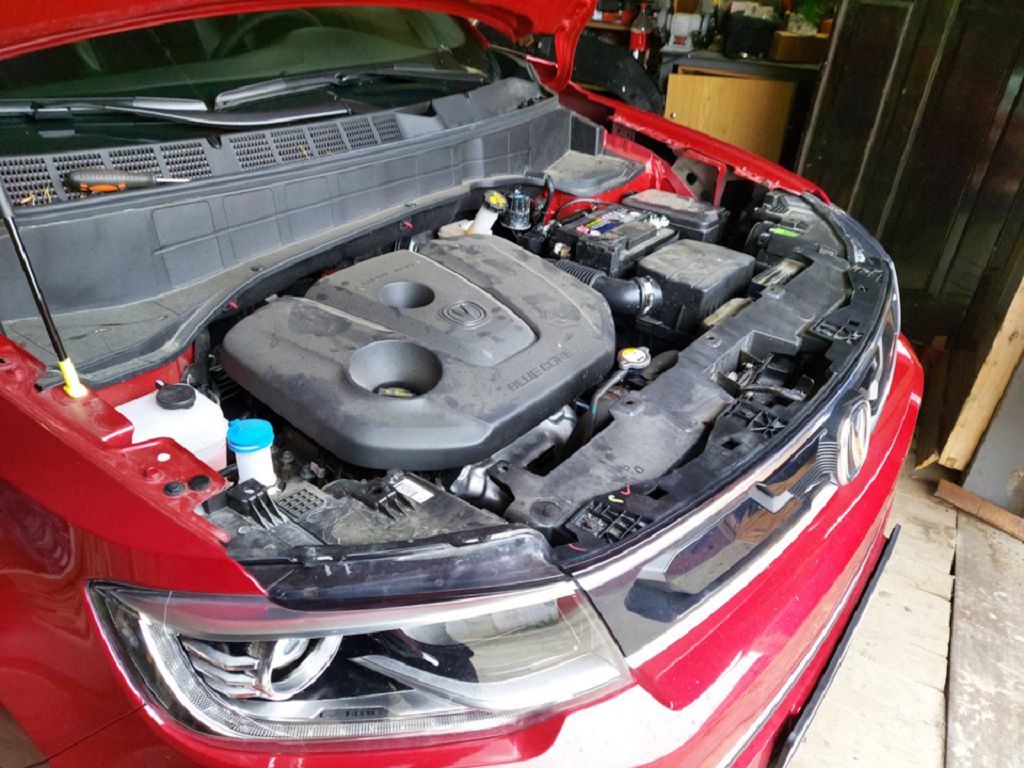
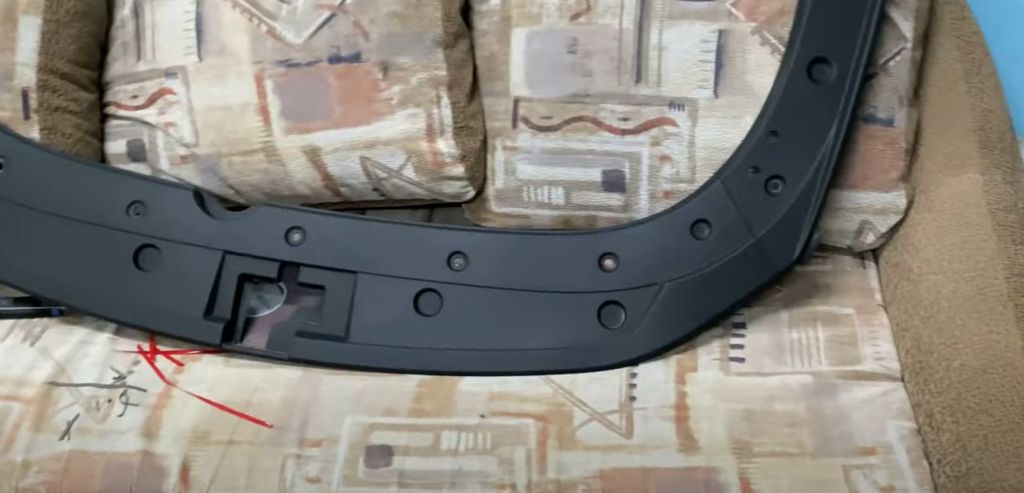
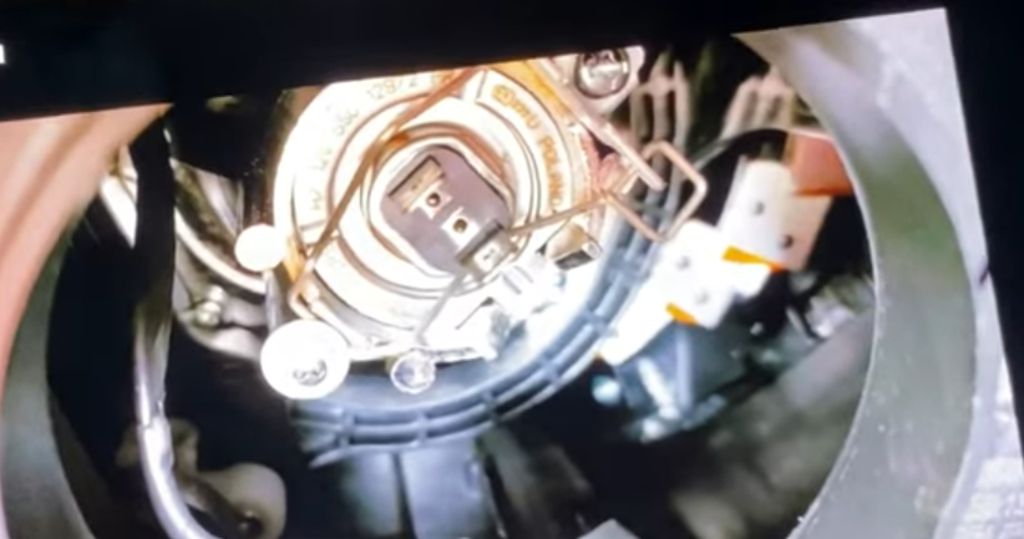
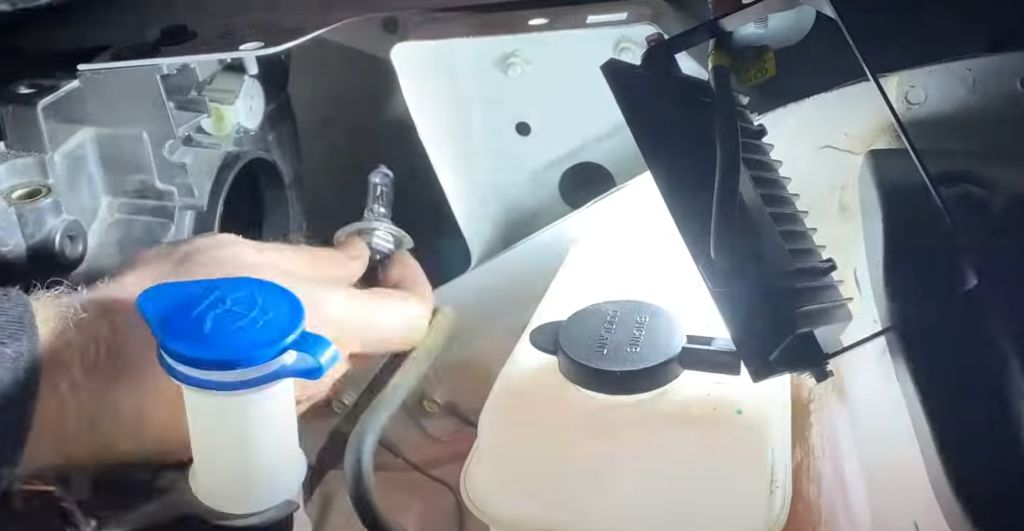
Okay, let’s dive right into replacing some bulbs on your Changan CS35 or CS35 Plus. First up, we’re tackling the high beams and low beams. Now, this might seem daunting, but trust me, it’s much easier than you think. The first thing you’ll want to do is locate your owner’s manual. Seriously, it’s your best friend here. It’ll have diagrams showing exactly where the bulb access points are located, and it might even specify the exact type of bulb you need. You don’t want to go to the auto parts store and grab the wrong ones! Once you’ve found the access points – usually behind the headlight assembly – you’ll need the right tools. This usually involves a small screwdriver, possibly a socket wrench depending on your model year. Remember to disconnect the battery’s negative terminal before you start working on anything electrical. Safety first, people! Once the negative terminal is disconnected, carefully remove the access cover to the bulb housing. You’ll likely see a retaining clip or a twist-lock mechanism holding the bulb in place. Gently release this, and then carefully pull the old bulb out. Pay close attention to how it’s oriented – you’ll need to put the new one in the exact same way. Now, this is crucial: handle the new bulb by its base, never by the glass. The oils from your fingers can damage the bulb and shorten its lifespan. Once you’ve got the new bulb in place, make sure it clicks securely into its housing. Then, carefully reassemble everything, reconnect the battery, and test your high and low beams. Make sure both are working correctly before you move on.
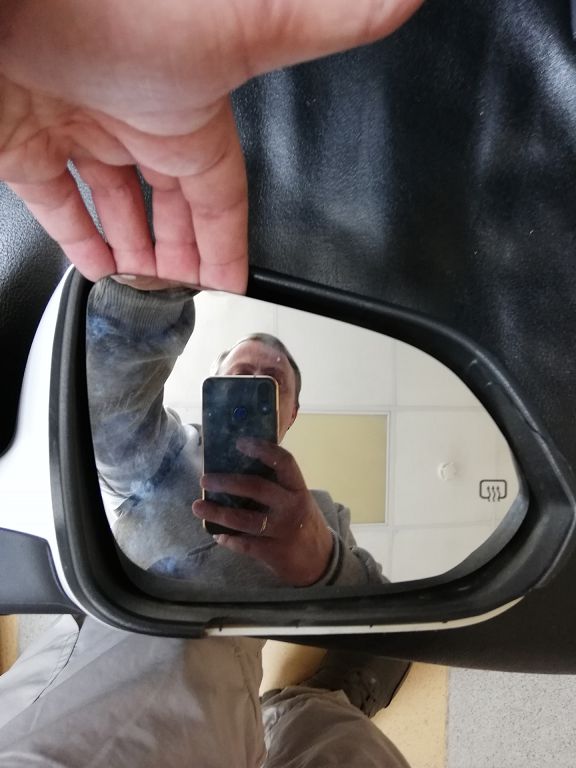
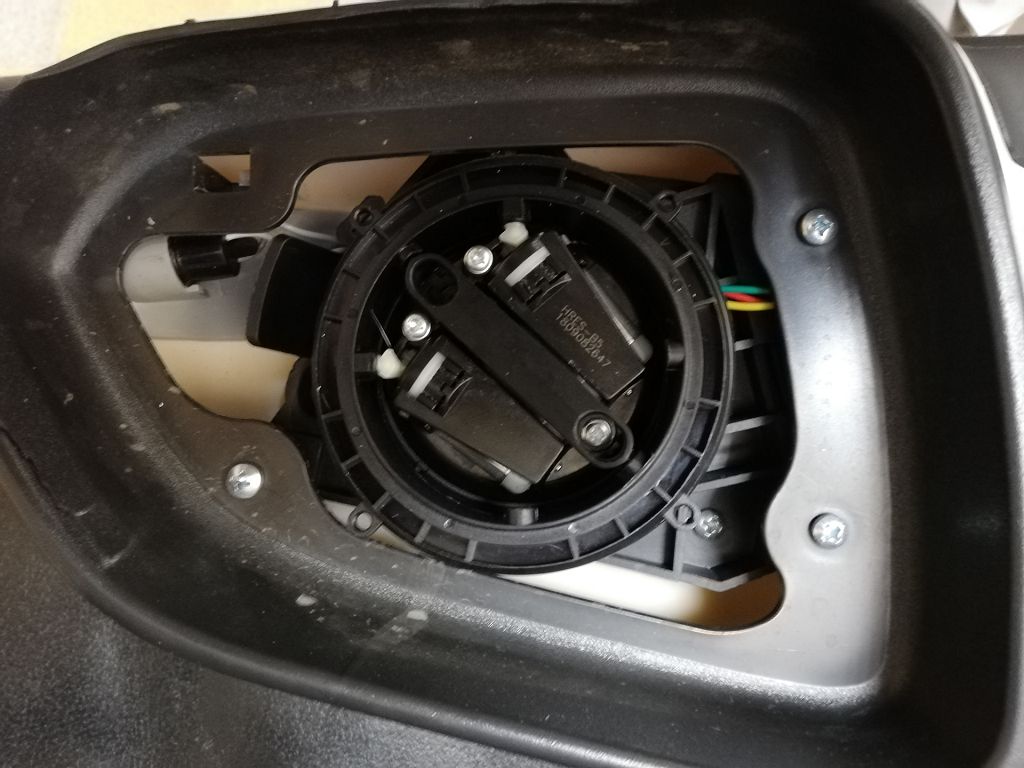
Next, we’re going to tackle replacing the turn signal repeater bulb in your side mirror. This one’s a little trickier, but still manageable. Again, consult your owner’s manual. The process varies slightly depending on the year and trim level of your CS35 or CS35 Plus. Some models require you to remove the entire mirror housing, while others have a small access panel. If you need to remove the mirror housing, you’ll likely need a small screwdriver and possibly some plastic trim removal tools to avoid scratching the paint. Work carefully and slowly to avoid breaking any clips. Once the housing is off, you should see the bulb. It’s usually a small wedge-style bulb. Again, disconnect the battery’s negative terminal before you start. Carefully remove the old bulb and replace it with a new one, making sure it’s properly seated. Reassemble everything, reconnect the battery, and test your turn signals. Make sure they’re flashing correctly and that the bulb isn’t flickering or burning out too quickly. If you encounter any problems, don’t hesitate to consult your owner’s manual or search online for more specific instructions for your model year. Remember, taking your time and being careful is key to a successful bulb replacement.
Okay, let’s dive right into replacing those bulbs on your Changan CS35 or CS35 Plus. We’ll start with the tail lights. Now, depending on the year and trim level of your CS35, the process might vary slightly, but the general principles remain the same. First, you’ll need to locate the access panel to the tail light assembly. Usually, this involves opening the trunk and removing a few screws or clips. Once you have access, you’ll see the bulb holders. These are usually twist-and-lock types, so you’ll need to gently twist them counter-clockwise to release the bulb. Be careful not to force anything, as you could damage the socket. Once the bulb is out, you can compare it to your new bulb to ensure you have the correct replacement. Remember to always double-check the wattage and type before installing the new bulb. Once you’ve got the right bulb, simply reverse the process – carefully insert the new bulb into the socket and twist it clockwise until it’s securely locked in place. Then, reassemble everything, making sure all the screws and clips are properly fastened. Test your tail lights to make sure everything is working correctly before closing up the trunk.
Now, let’s move on to the fog lights. The fog lights on the Changan CS35 and CS35 Plus are usually located in the lower front bumper. Accessing them is a bit different. You might need to remove some plastic covers or trim pieces to get to the fog light assembly. Consult your owner’s manual for the exact procedure, as it can vary depending on the model year. Once you have access to the fog light bulb, the replacement process is similar to the tail lights. You’ll likely find a twist-and-lock bulb holder. Again, be gentle when removing and installing the bulbs. Make sure you have the correct replacement bulb before you start. After installing the new bulb, test the fog lights to ensure they’re working properly before putting everything back together. Remember to always double-check your work and ensure everything is securely fastened before driving.
Finally, let’s talk about why bulbs burn out. There are several reasons why your bulbs might be failing. One common cause is simply age. Bulbs have a limited lifespan, and after a certain amount of time, they’ll eventually burn out. Another factor is voltage fluctuations. If your car’s electrical system isn’t providing a stable voltage, it can put extra stress on the bulbs, leading to premature failure. Also, vibrations from driving can also contribute to bulb burnout, especially on rough roads. Sometimes, a faulty wiring harness or a short circuit can also cause bulbs to fail. If you’re experiencing frequent bulb burnouts, it’s a good idea to have your car’s electrical system checked by a professional to rule out any underlying issues. Regularly inspecting your lights and replacing bulbs promptly can help prevent more serious problems down the road. And remember, always use the correct type and wattage of bulb for your Changan CS35 or CS35 Plus to avoid damaging your vehicle’s electrical system.